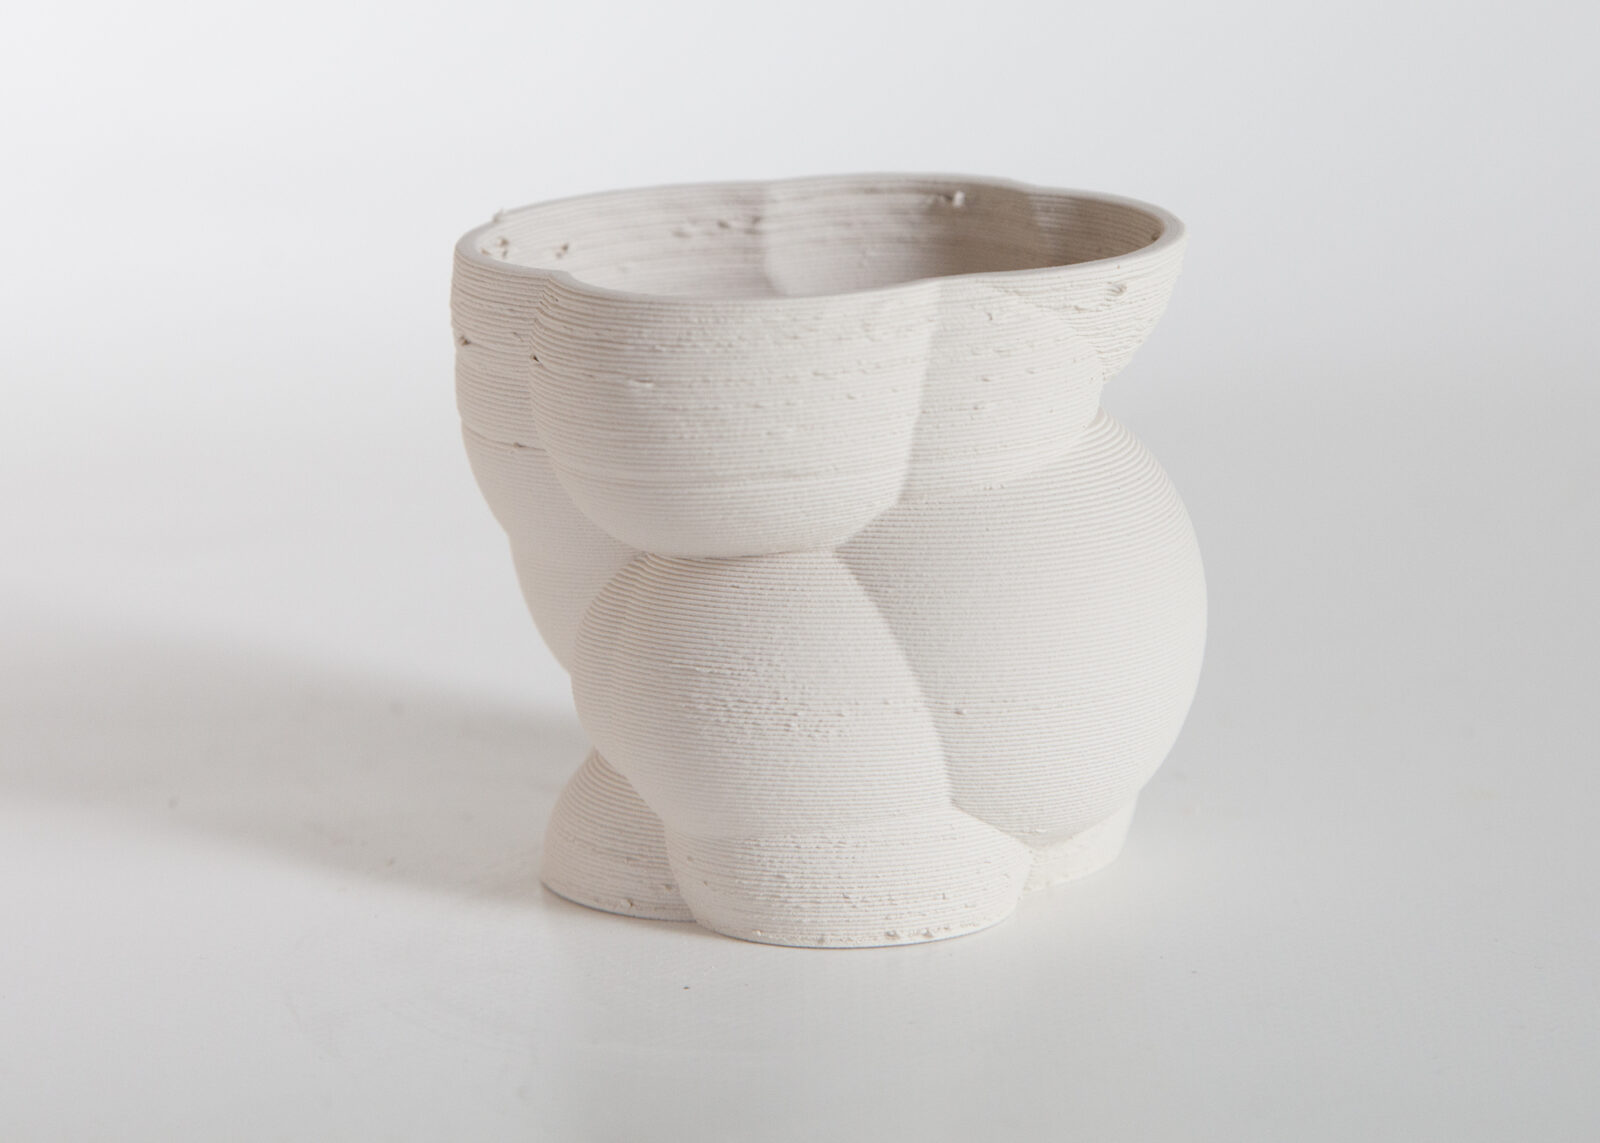
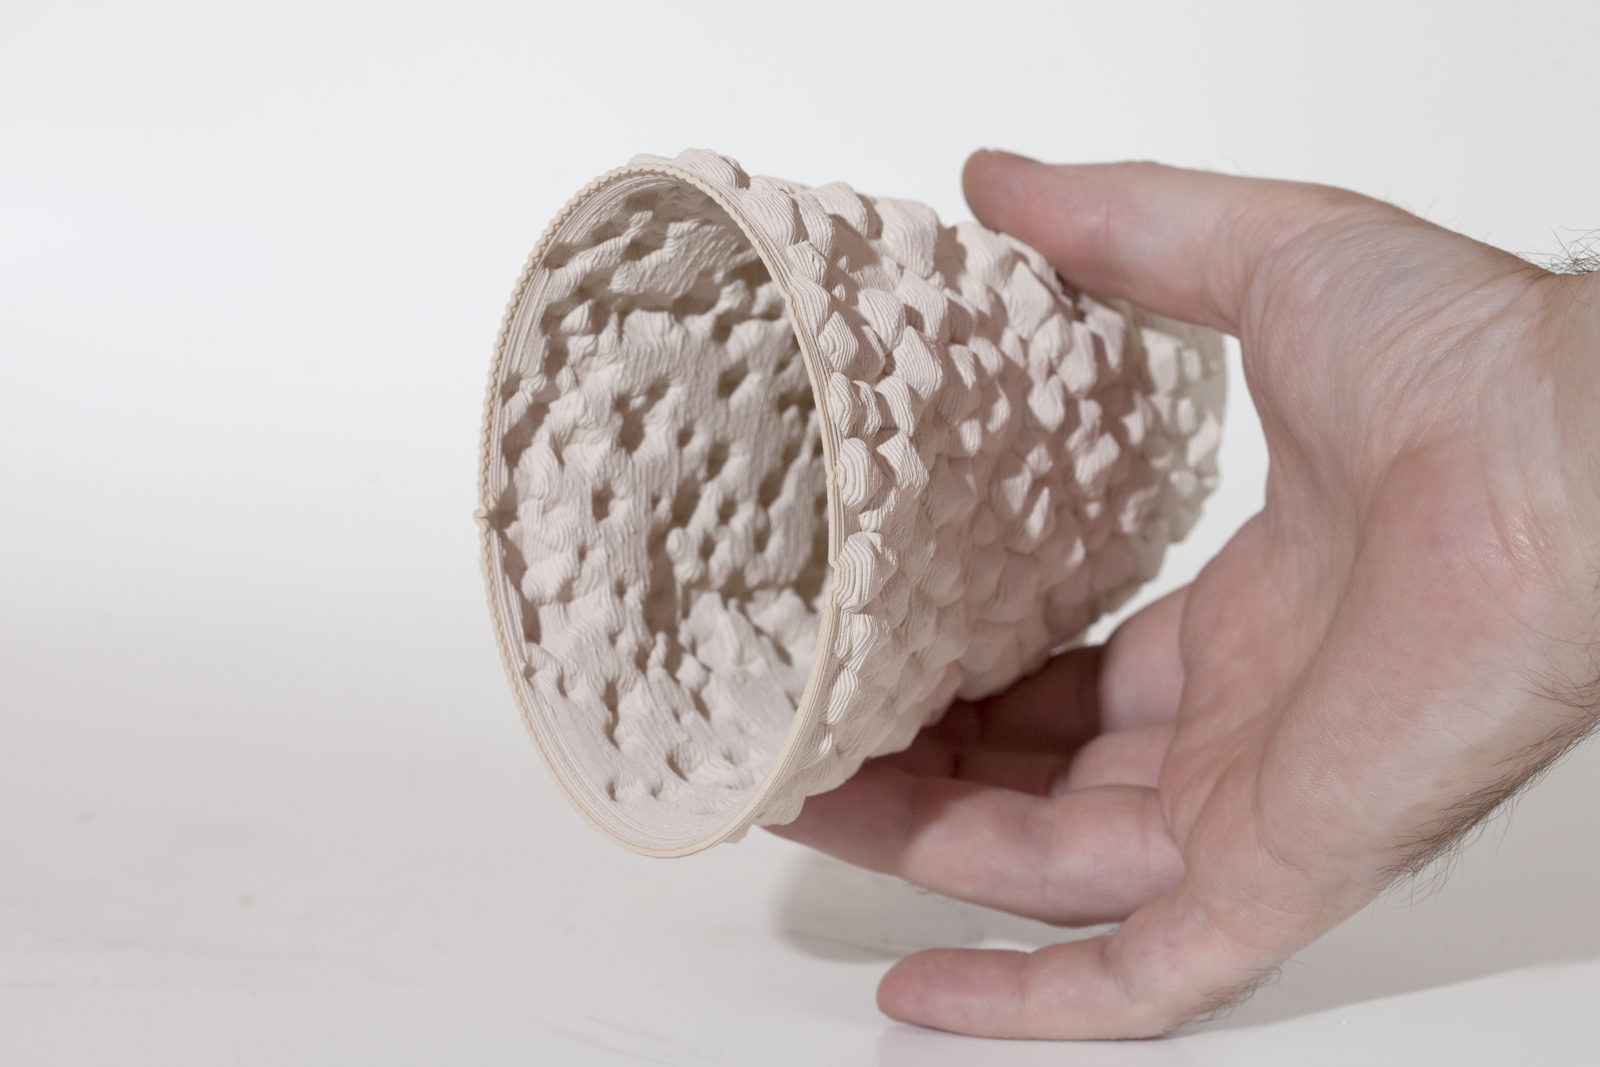
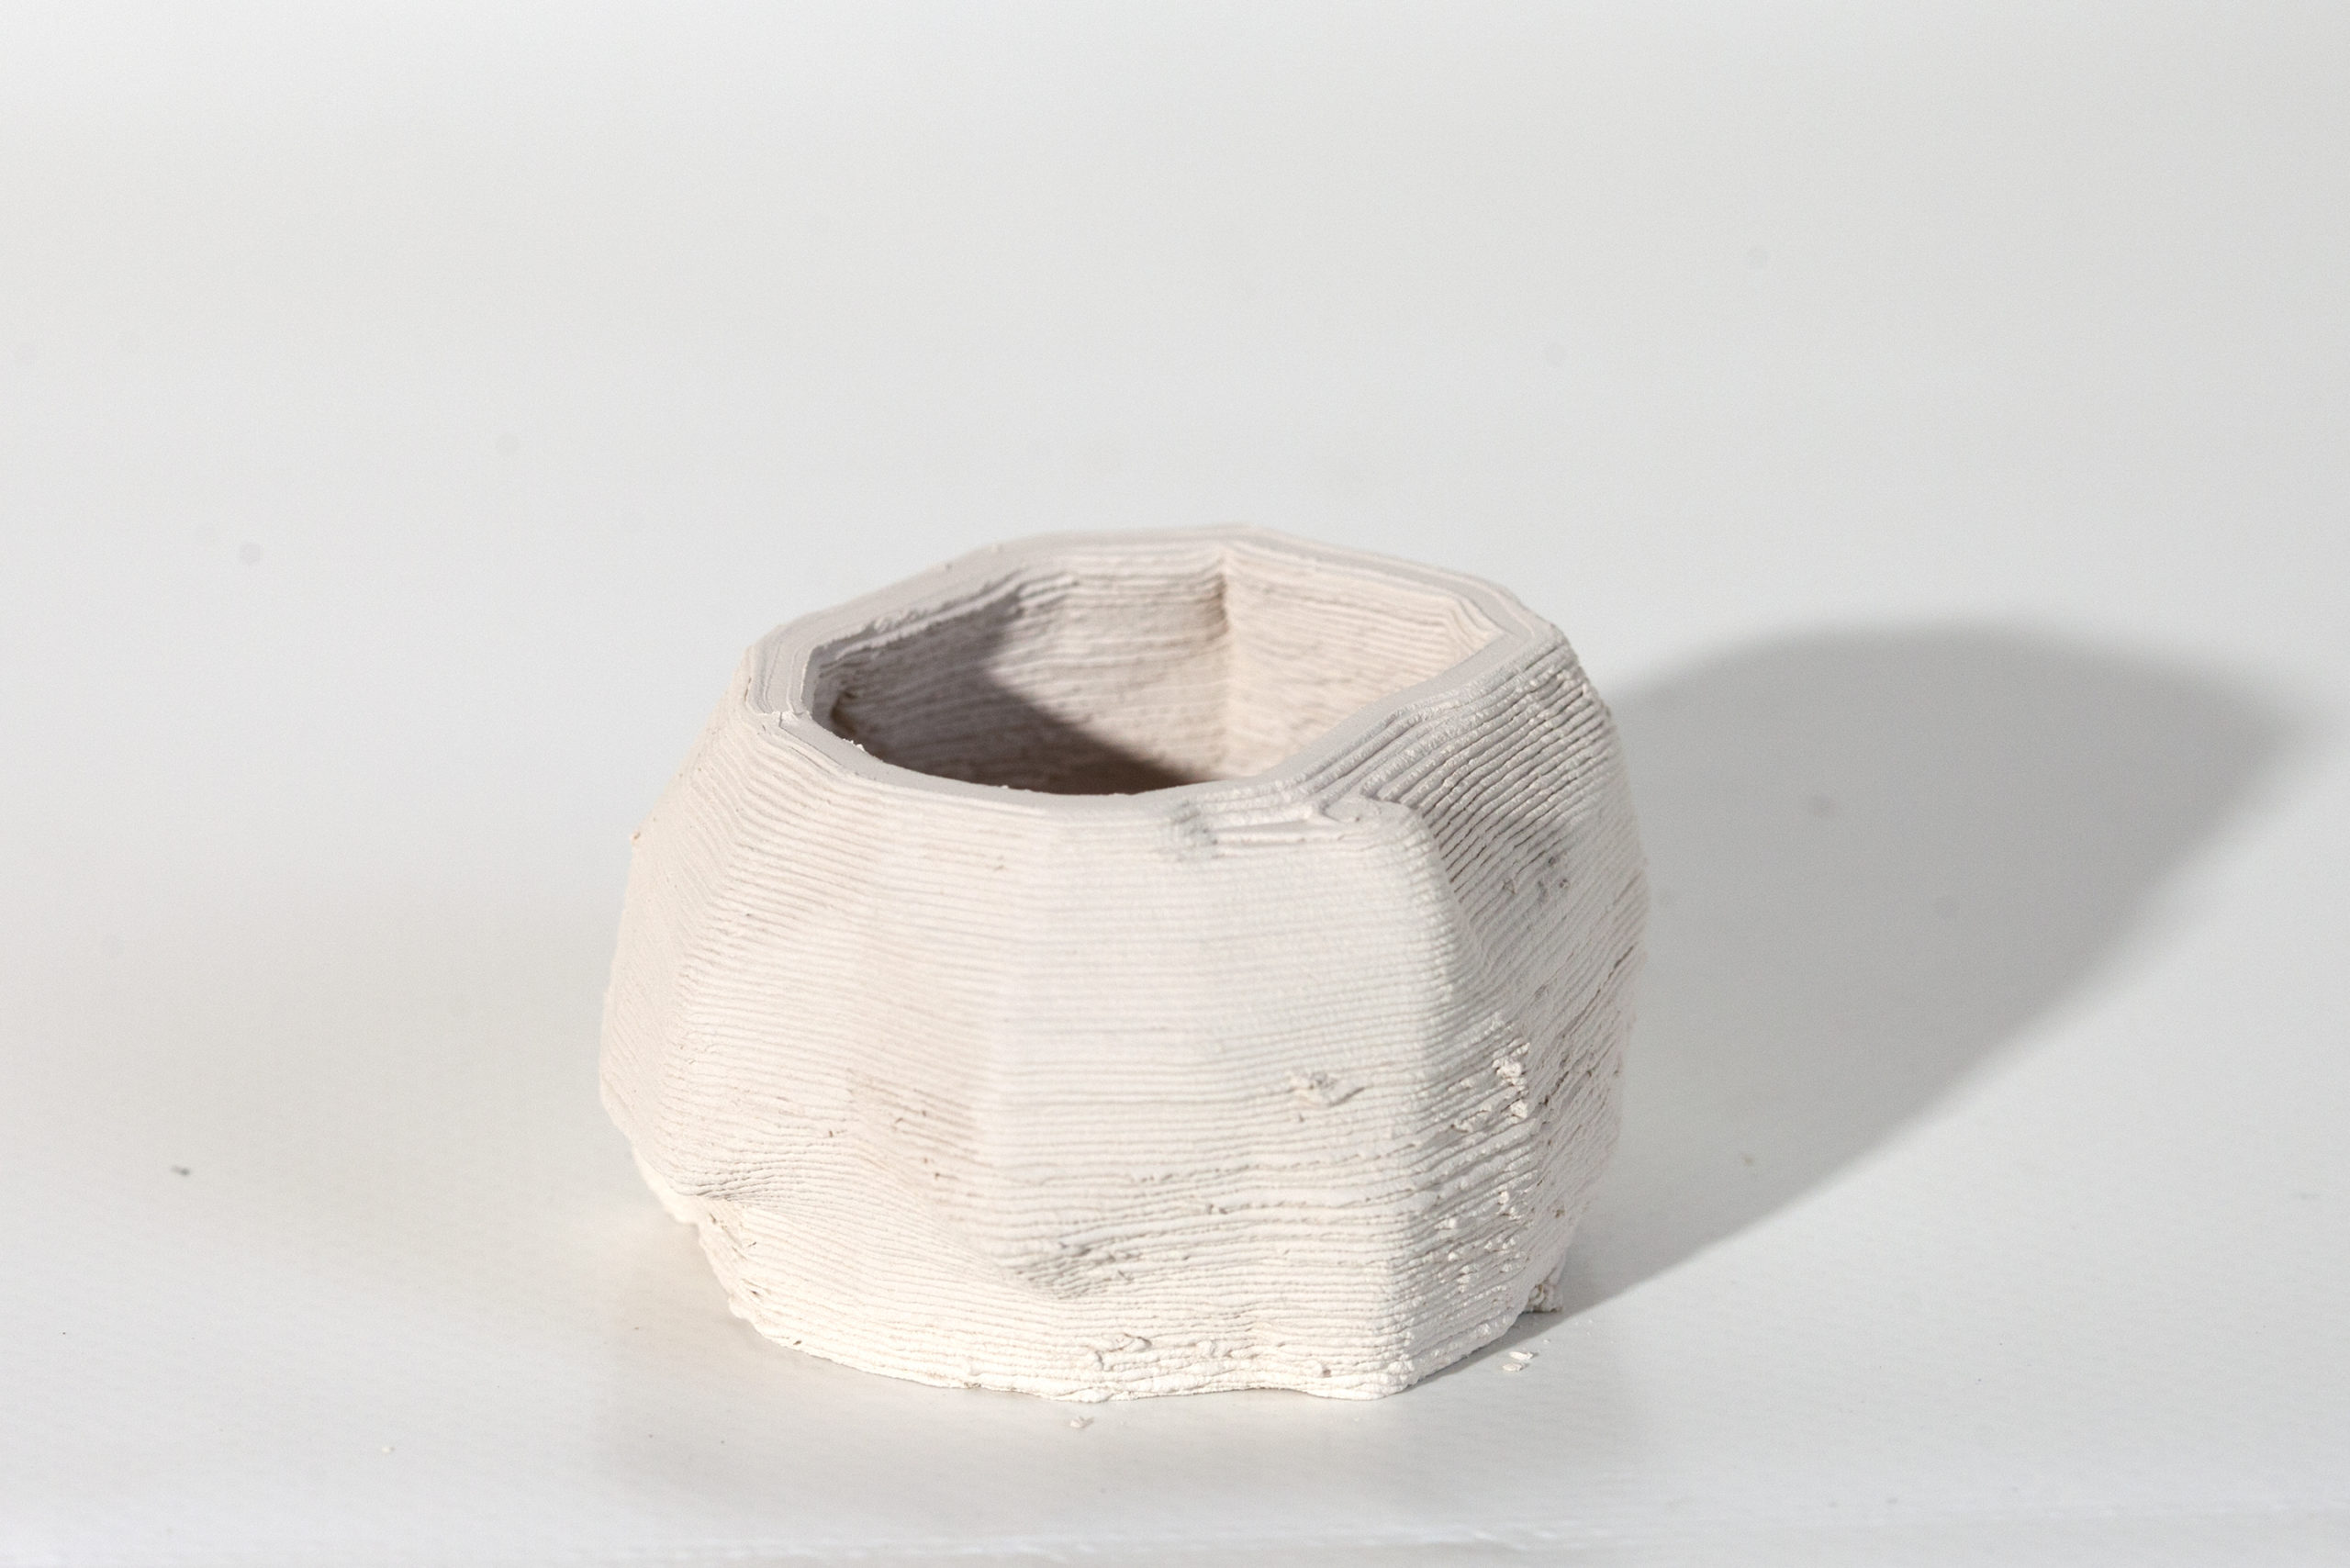
2nd print of bubble form. First time it collapsed at around 70%
Printed this one to 50% and its beginning to show signs of collapse and increase in air bubbles, stopped print.

2nd print of bubble form. First time it collapsed at around 70%
Printed this one to 50% and its beginning to show signs of collapse and increase in air bubbles, stopped print.
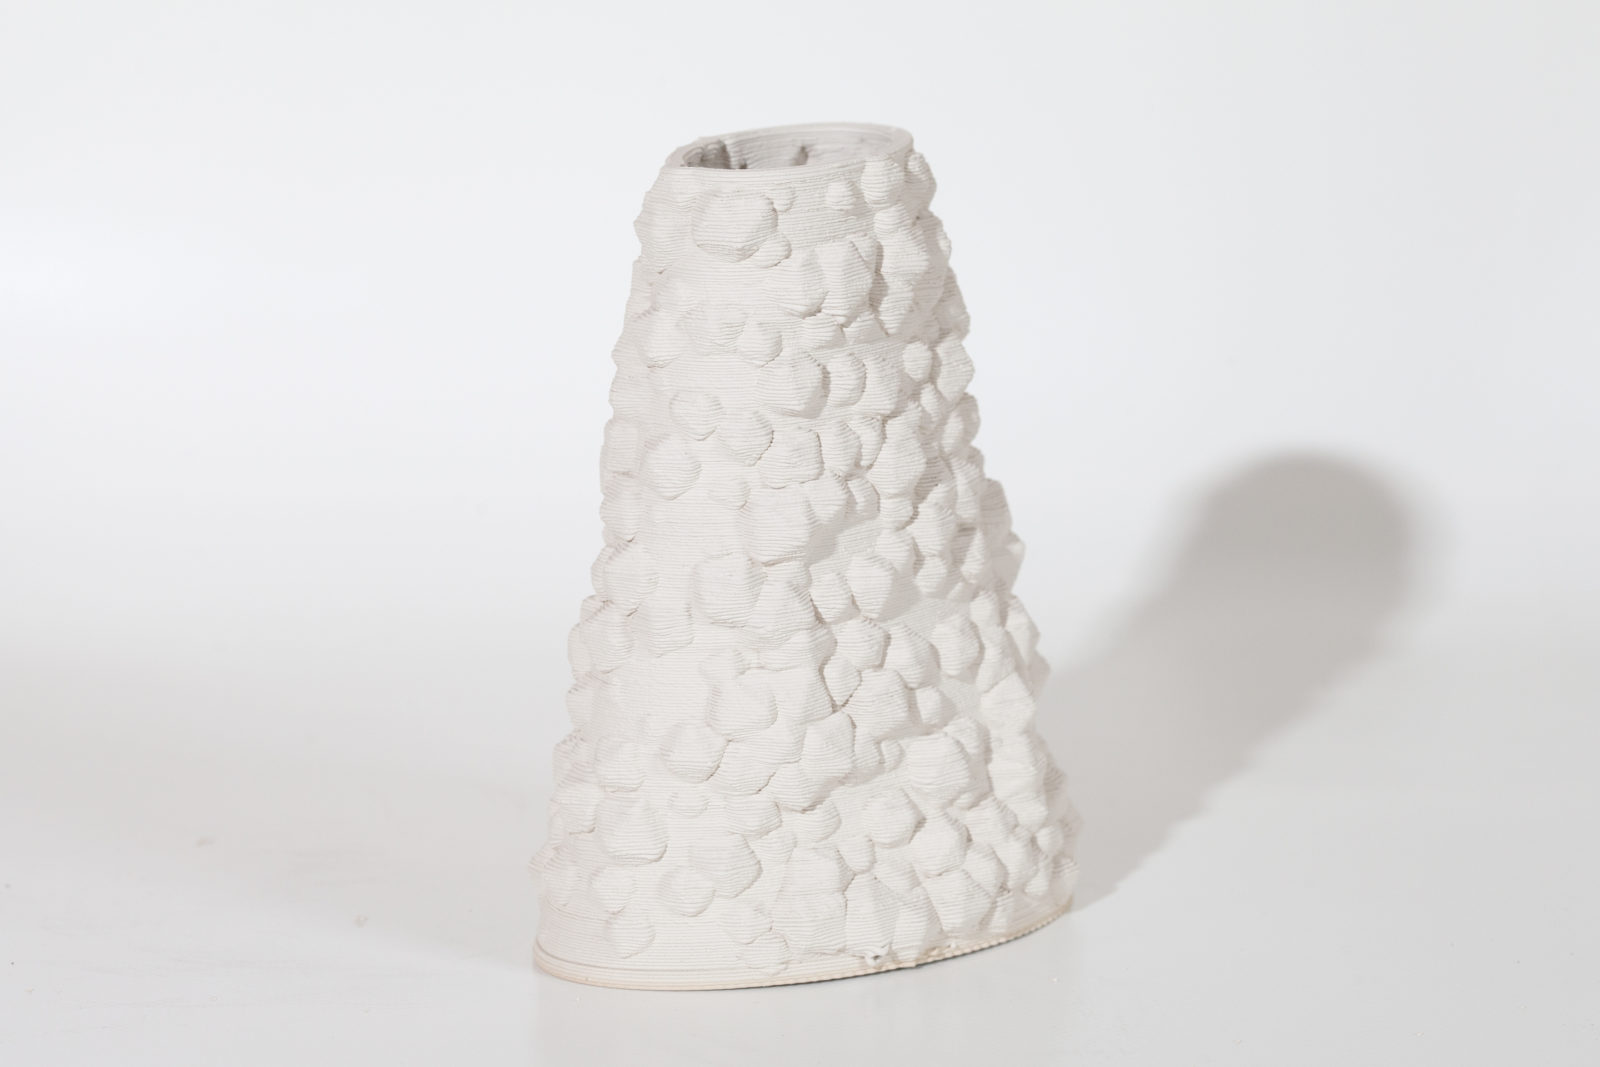
First round of prints with new harness. Printed first shape (from 9/02) and tall and wide variations.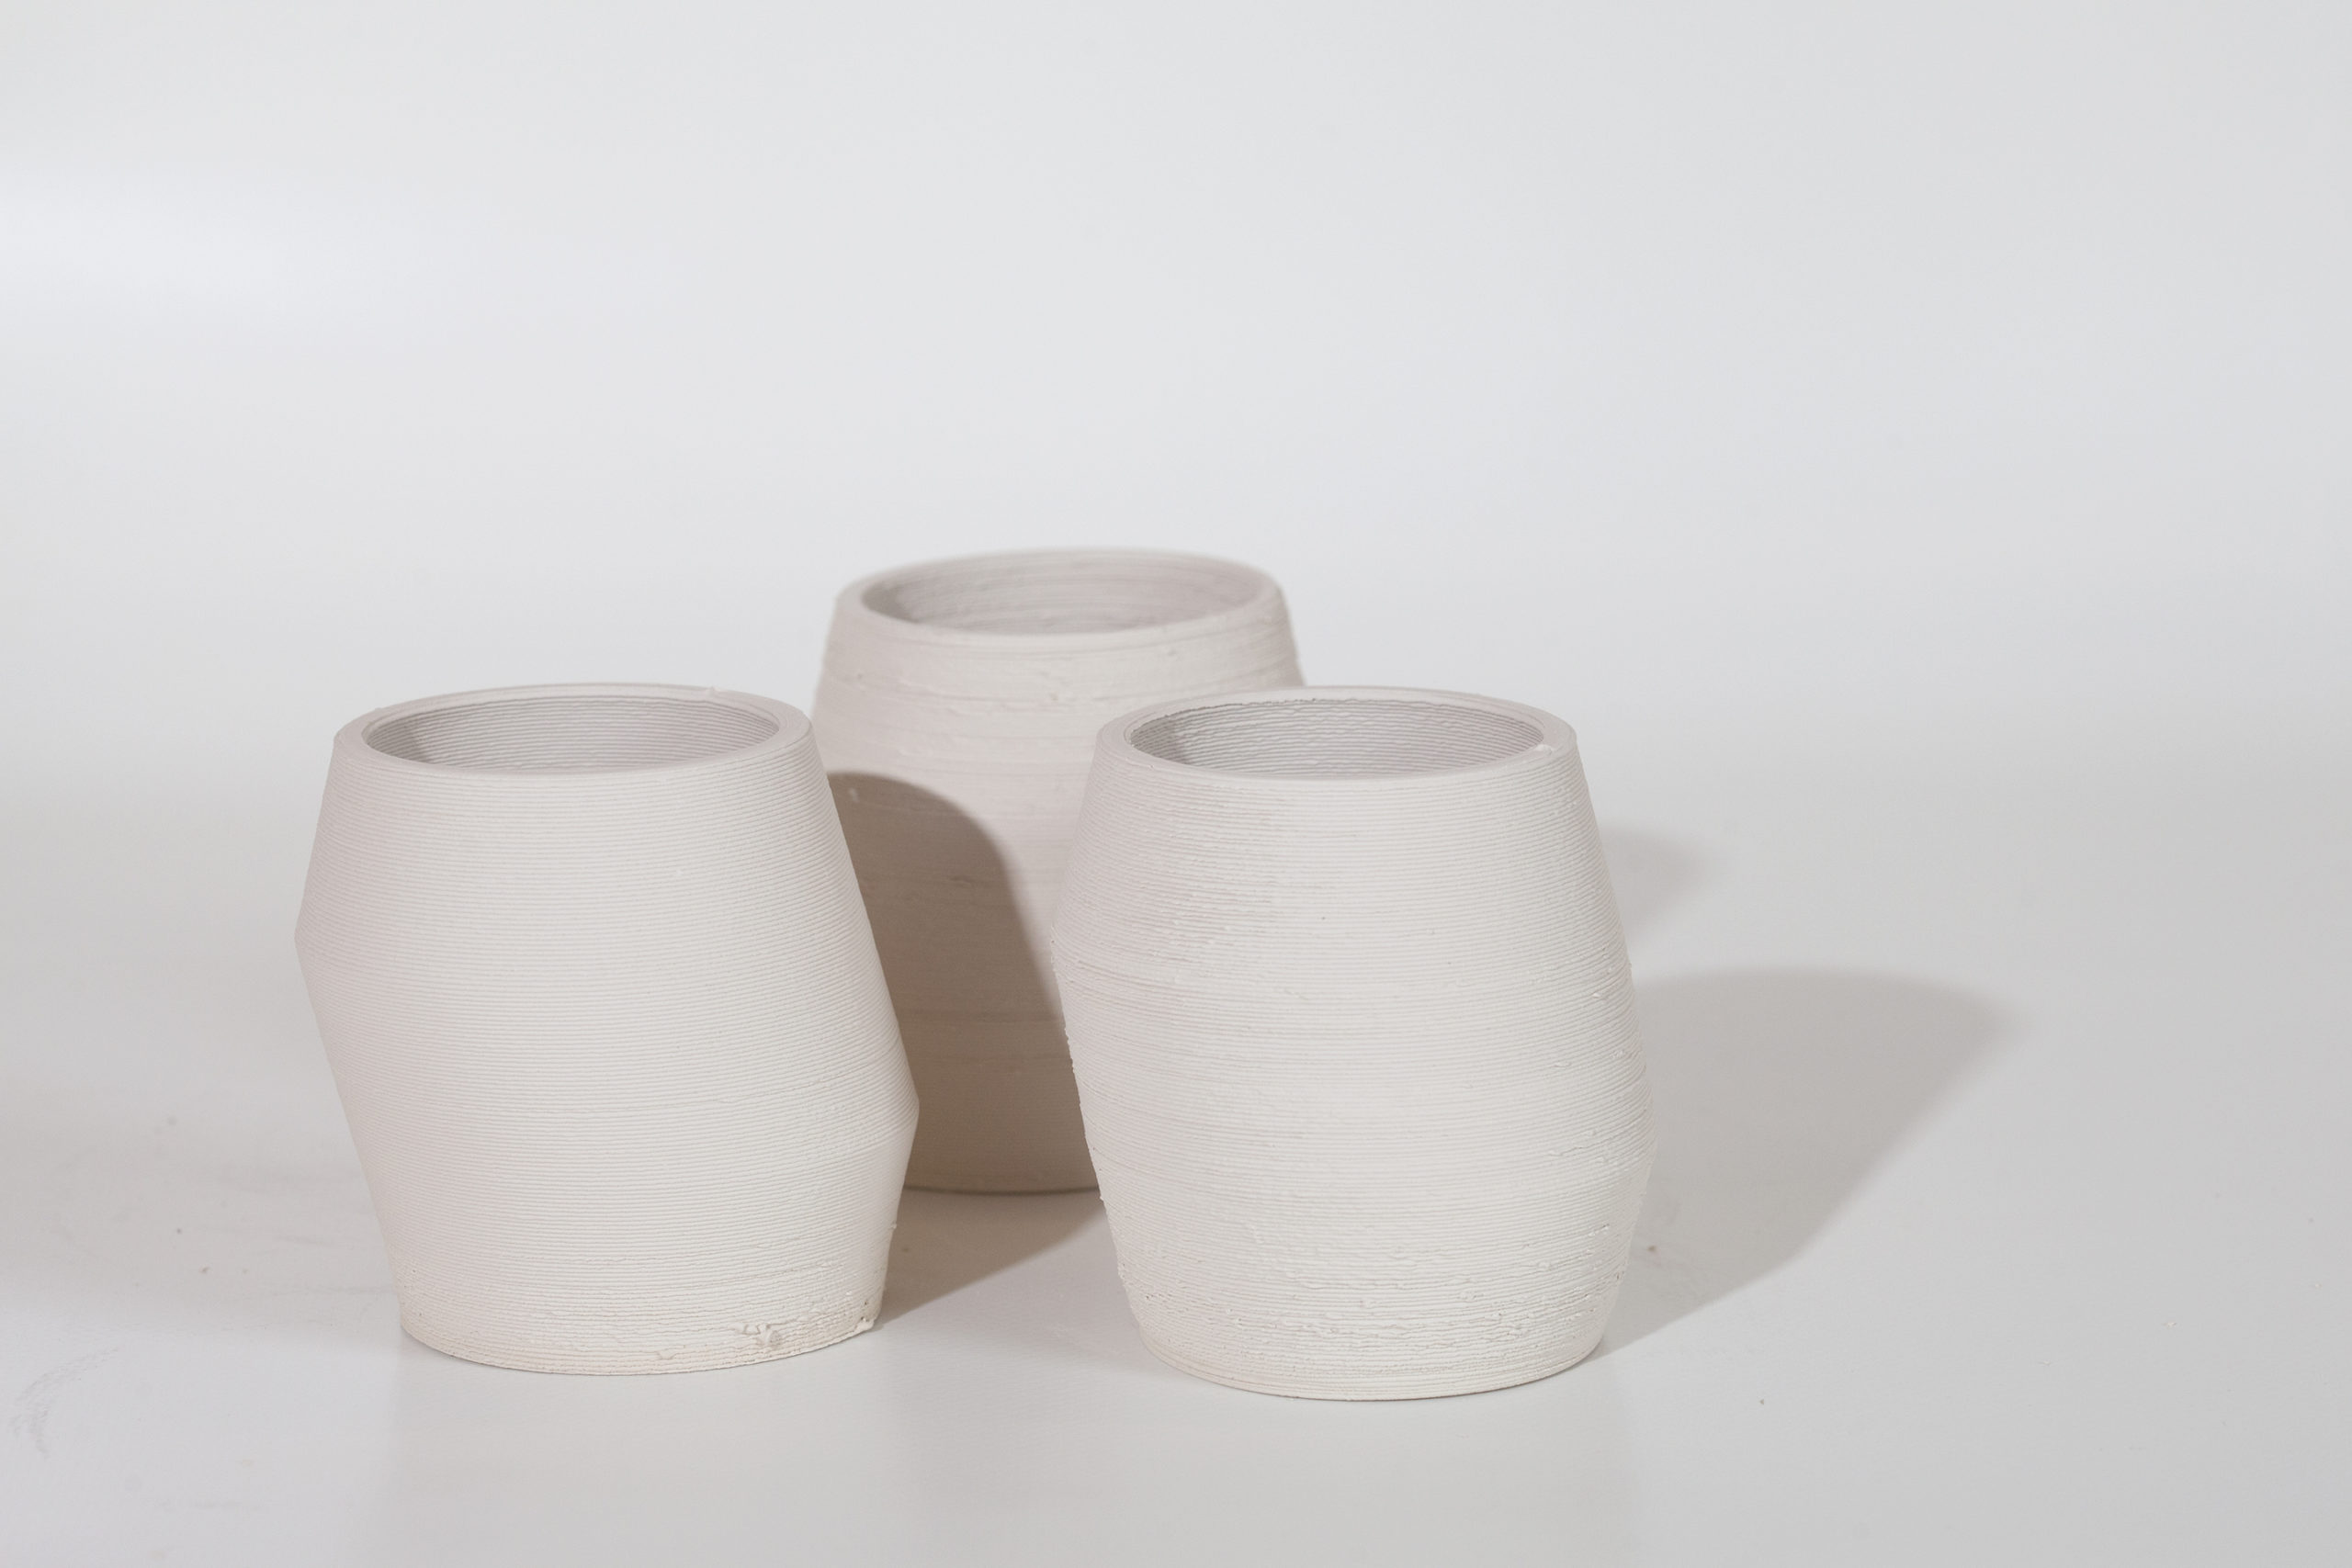
First attempt at printing directly on to rolled clay bottom
1st printed ok
2nd (tall var) printed ok at first but had some buildup on head, I paused and used the resurrection option for the first time, and the print restarted very cleanly. Impressed.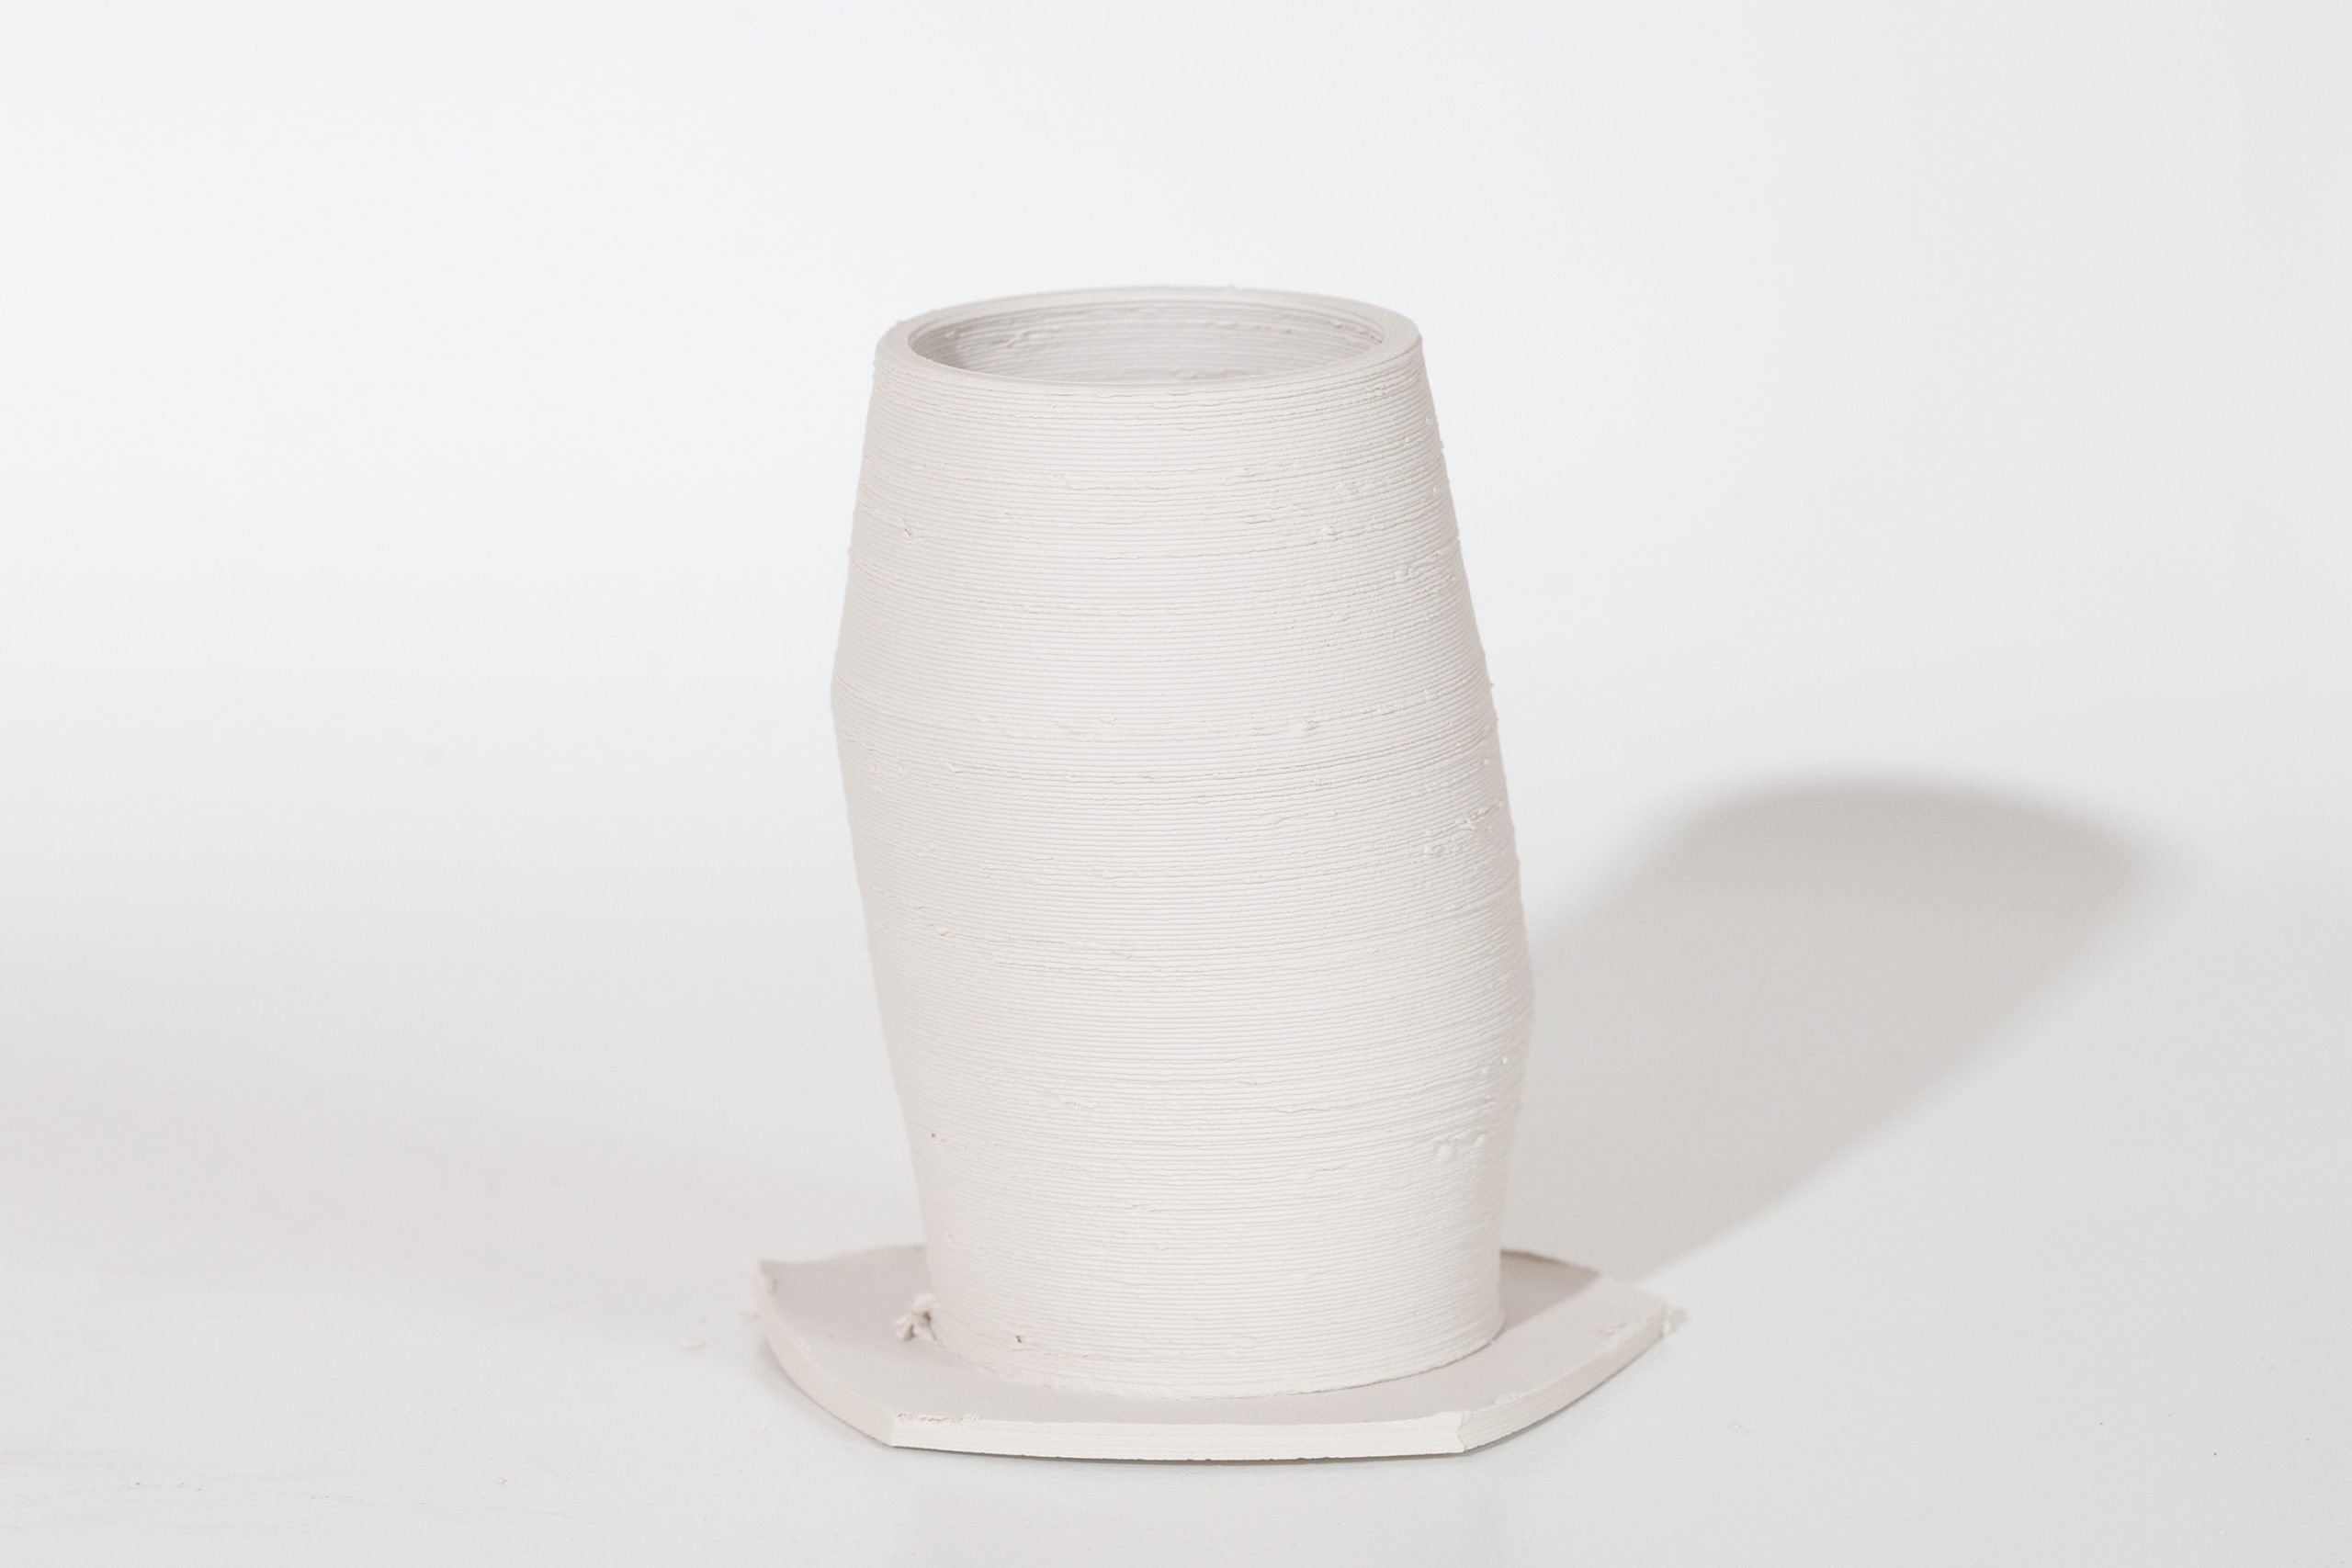
3rd (wide var) failed as the hose pulled out of the printhead and into the piece
Base shows signs of delamination, needs more research.
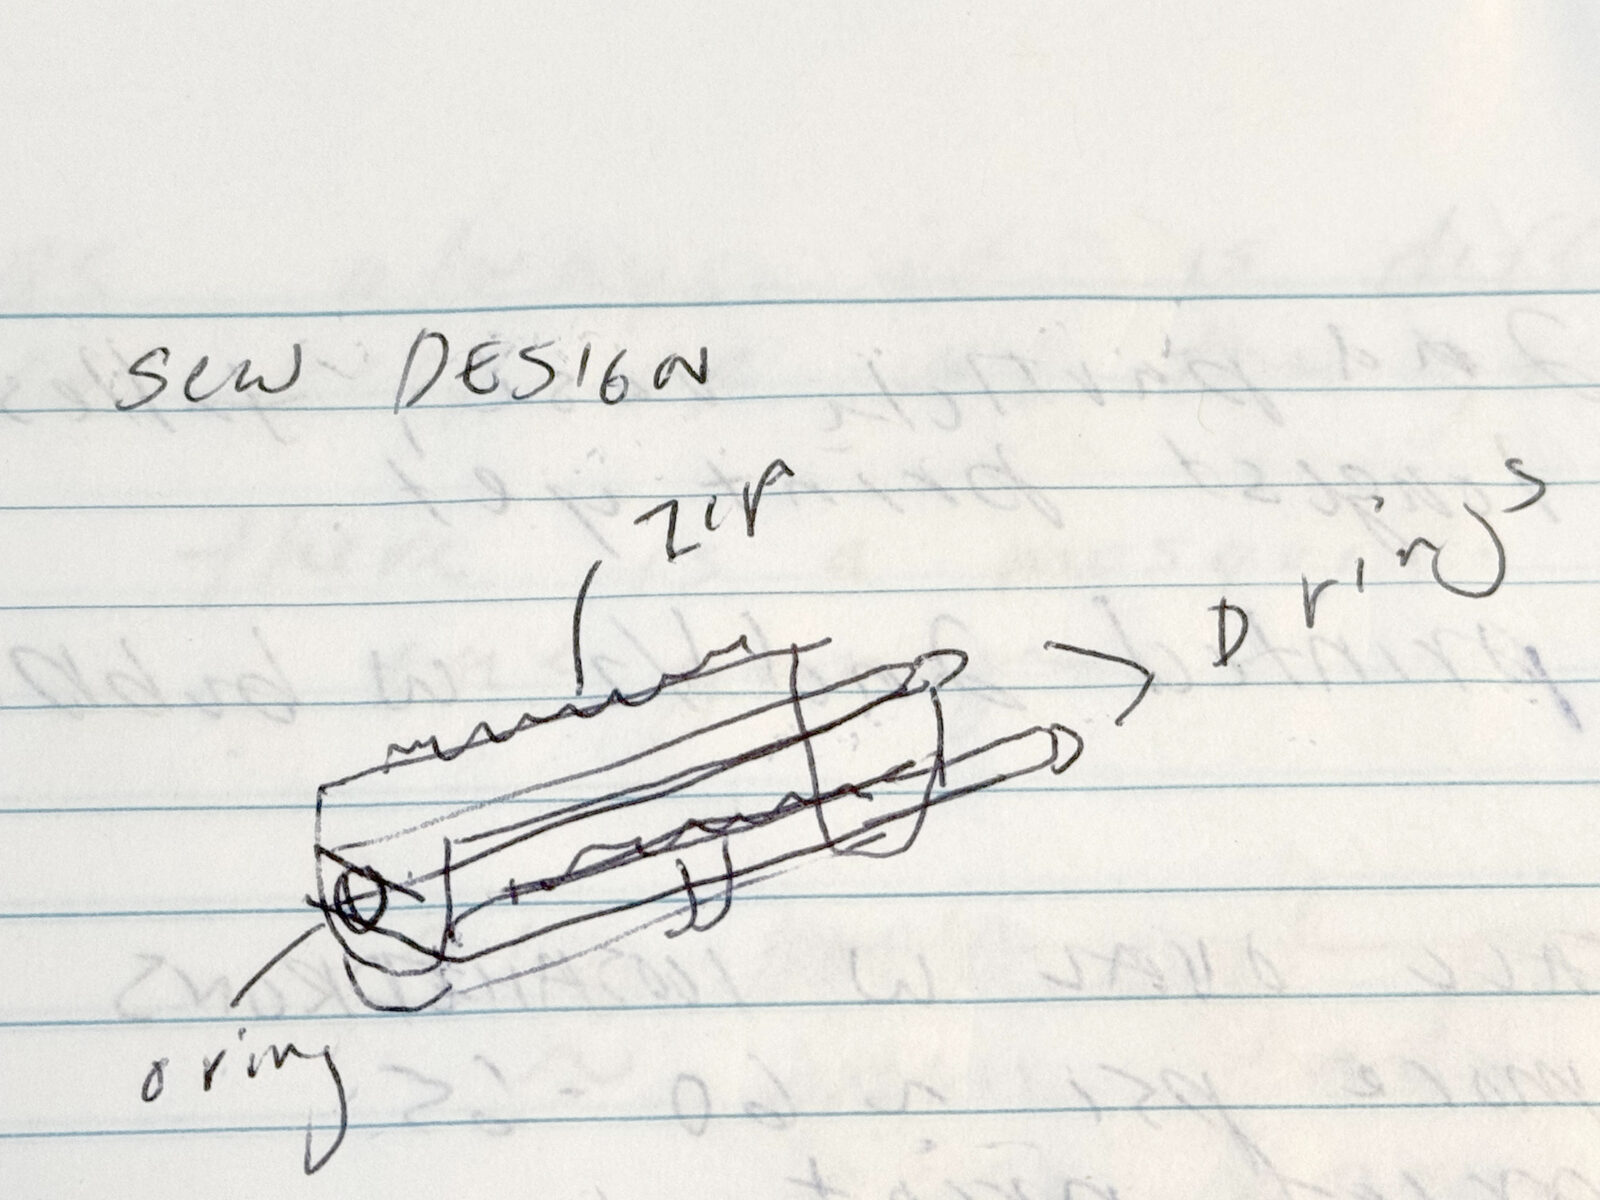
I dont have a stand for my canister, and Ive noticed that with larger prints the canister really needs to move a little or else the nylon hose will crimp. So I’ve designed a harness to fit around the canister which I can hang from a rafter. This will allow for the movement as the print is going and also it orients the out hole down, which is helpful in case I have any more dramatic disconnects of the tube from the canister, all mess will go down.
2pc, one strap with a hook hangs from joist, the other zips onto the canister and hangs from the hook.
I’ve been having some issues with the rear carriage. Sometime last week it was so loose in the track that it fell loose while printing. Haha, yikes. I’ve researched about how to get it in and adjust it using the eccentric nut on one of the wheels. This fixed it part way, but after I found I was having troubles with the parking action being too tight. This was causing the head to be pulled right as it began its decent, thus loosing the correct Max Z value. I adjusted this nut on the rear carriage, and really happy with how much more smooth its going.
I printed a test at near max diameter.
Major warping during dry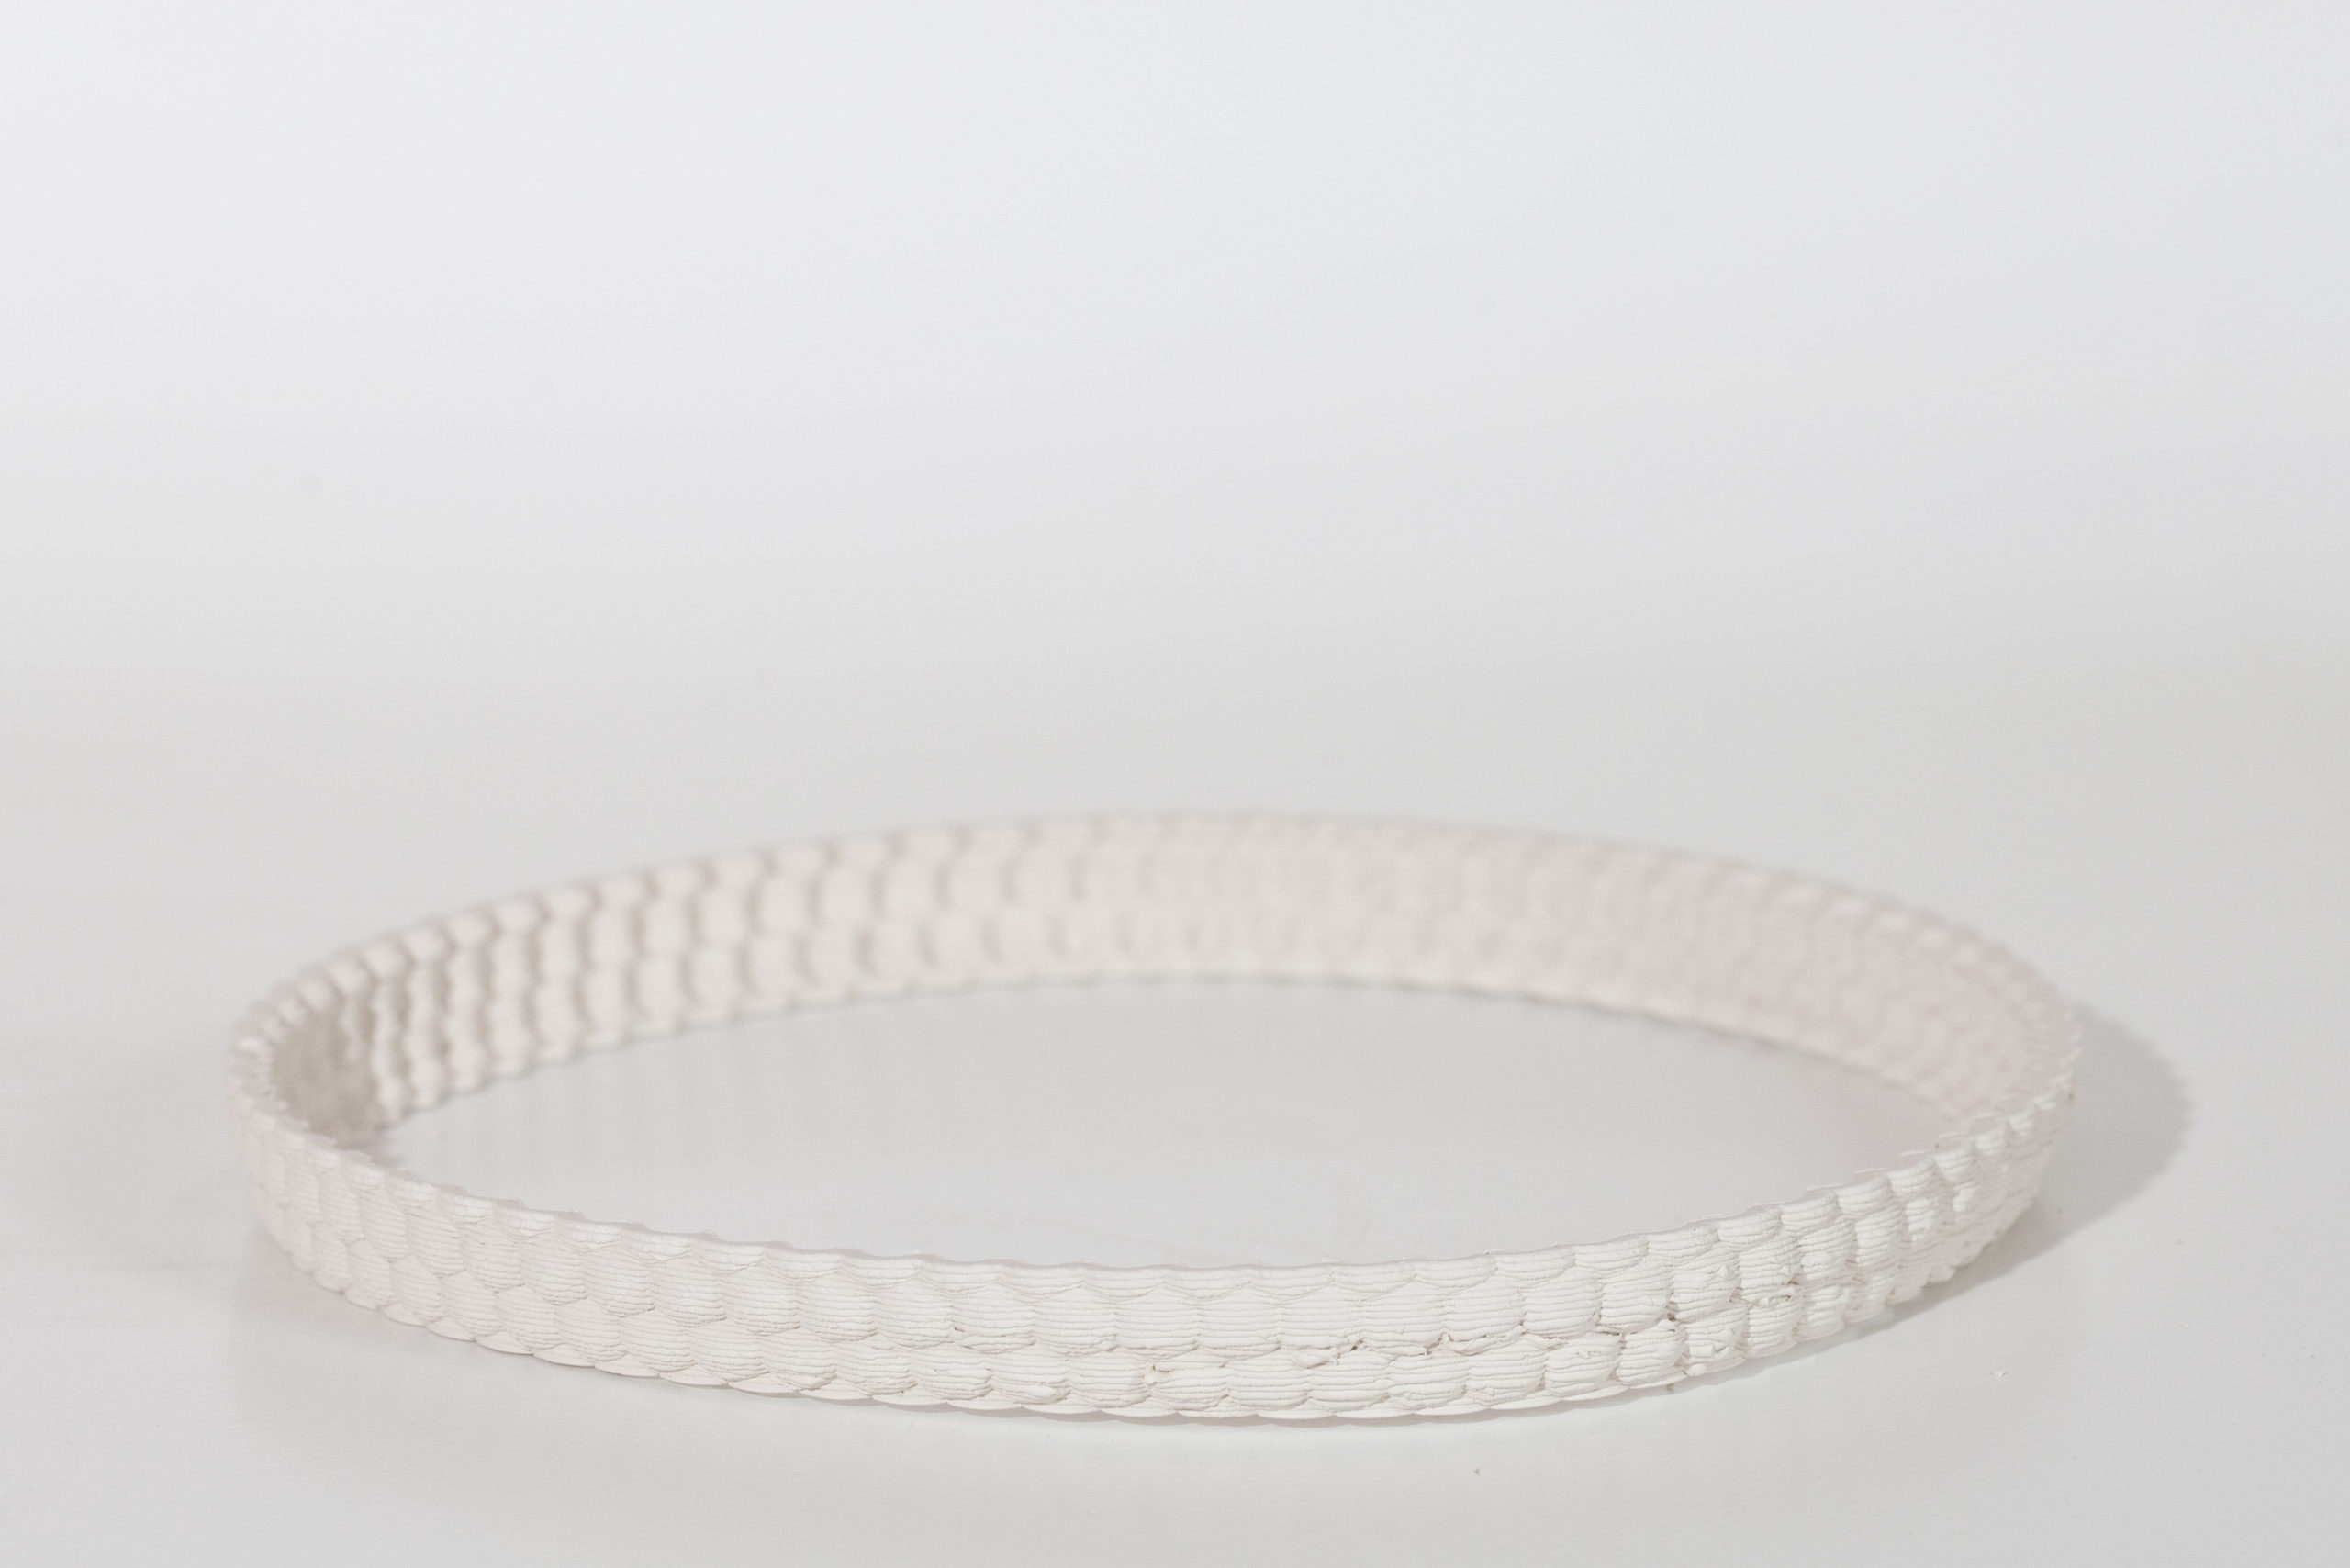
Only printed half as I was having to hold the canister and move it towards and away from the printer depending on where the head was printing. I will fix this by creating a rig and hanging the canister.
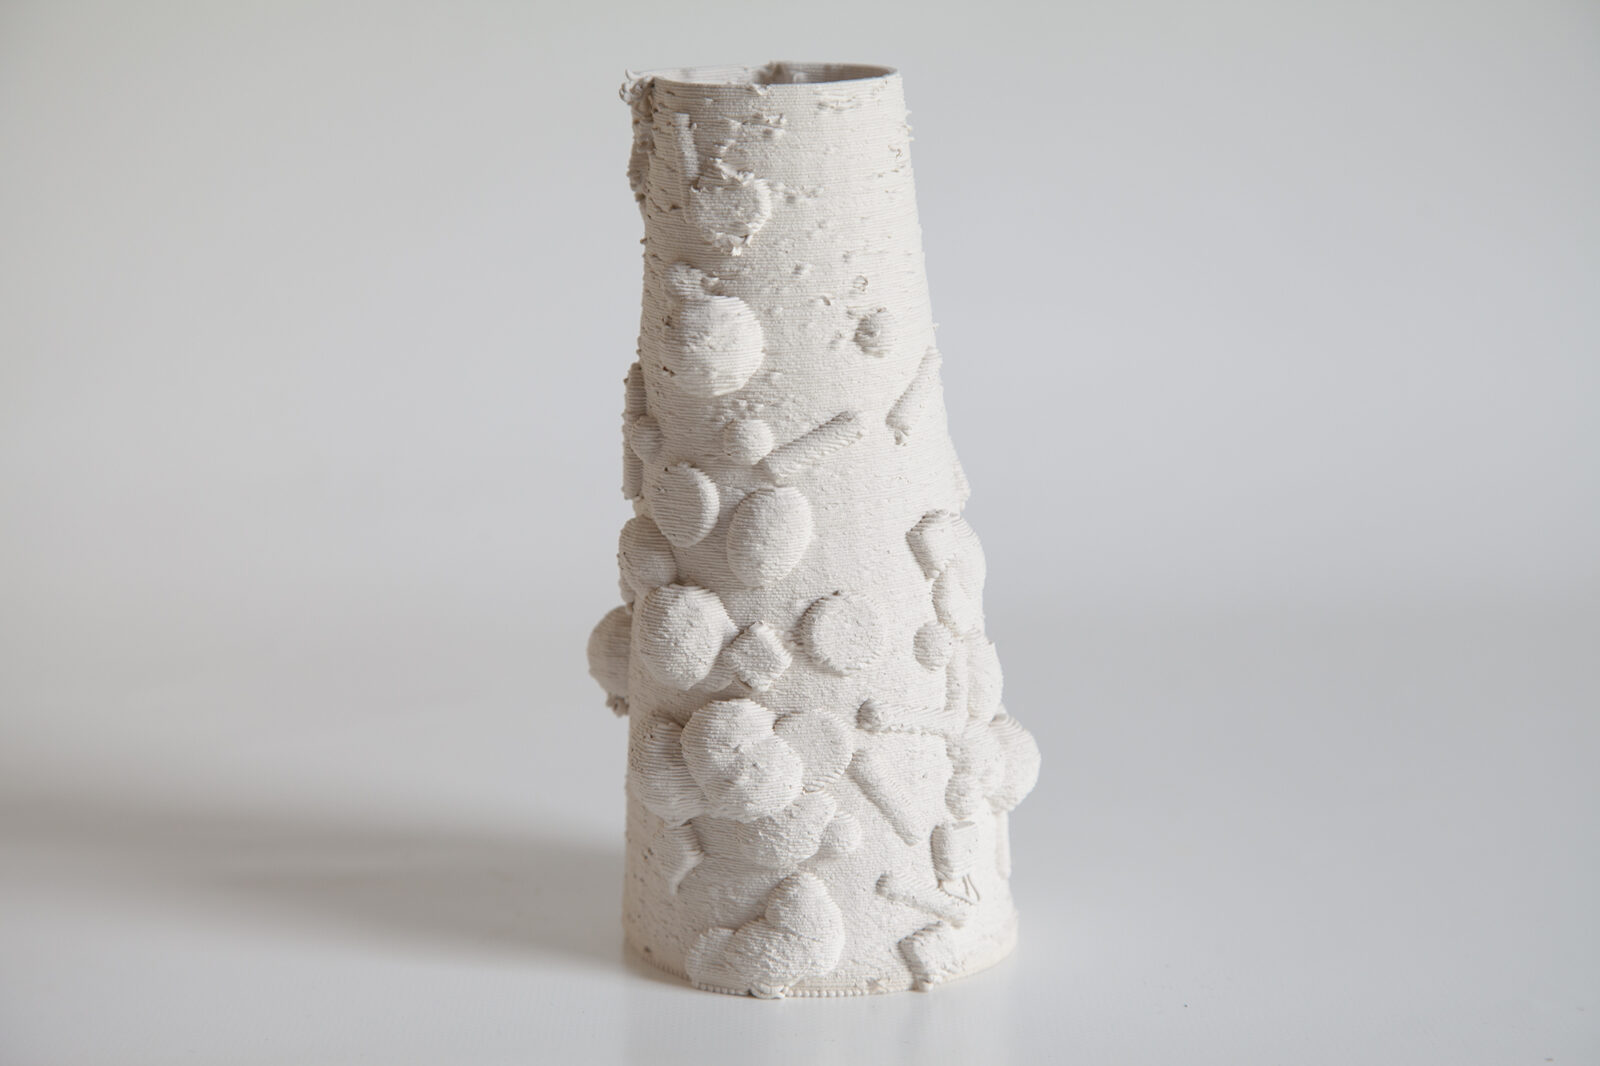
Tall twisting oval “particle” vessel
65psi, 30 min
This one didnt have the UV map for density distribution.
Also, the center body was offset so there should be no instance which has a 90deg from main surface
Printed great.
2nd Particle Vase
Tallest, longest print yet.
1st half printed well, second half with bubbles.
First takeaways from both this and 9/13 shapes are that the size of the geometry and the angle at which it emerges from main body cause some small holes at shelfs.
Also, I intentionally faceted the main body, but with this number of faces it looks like a mistake. 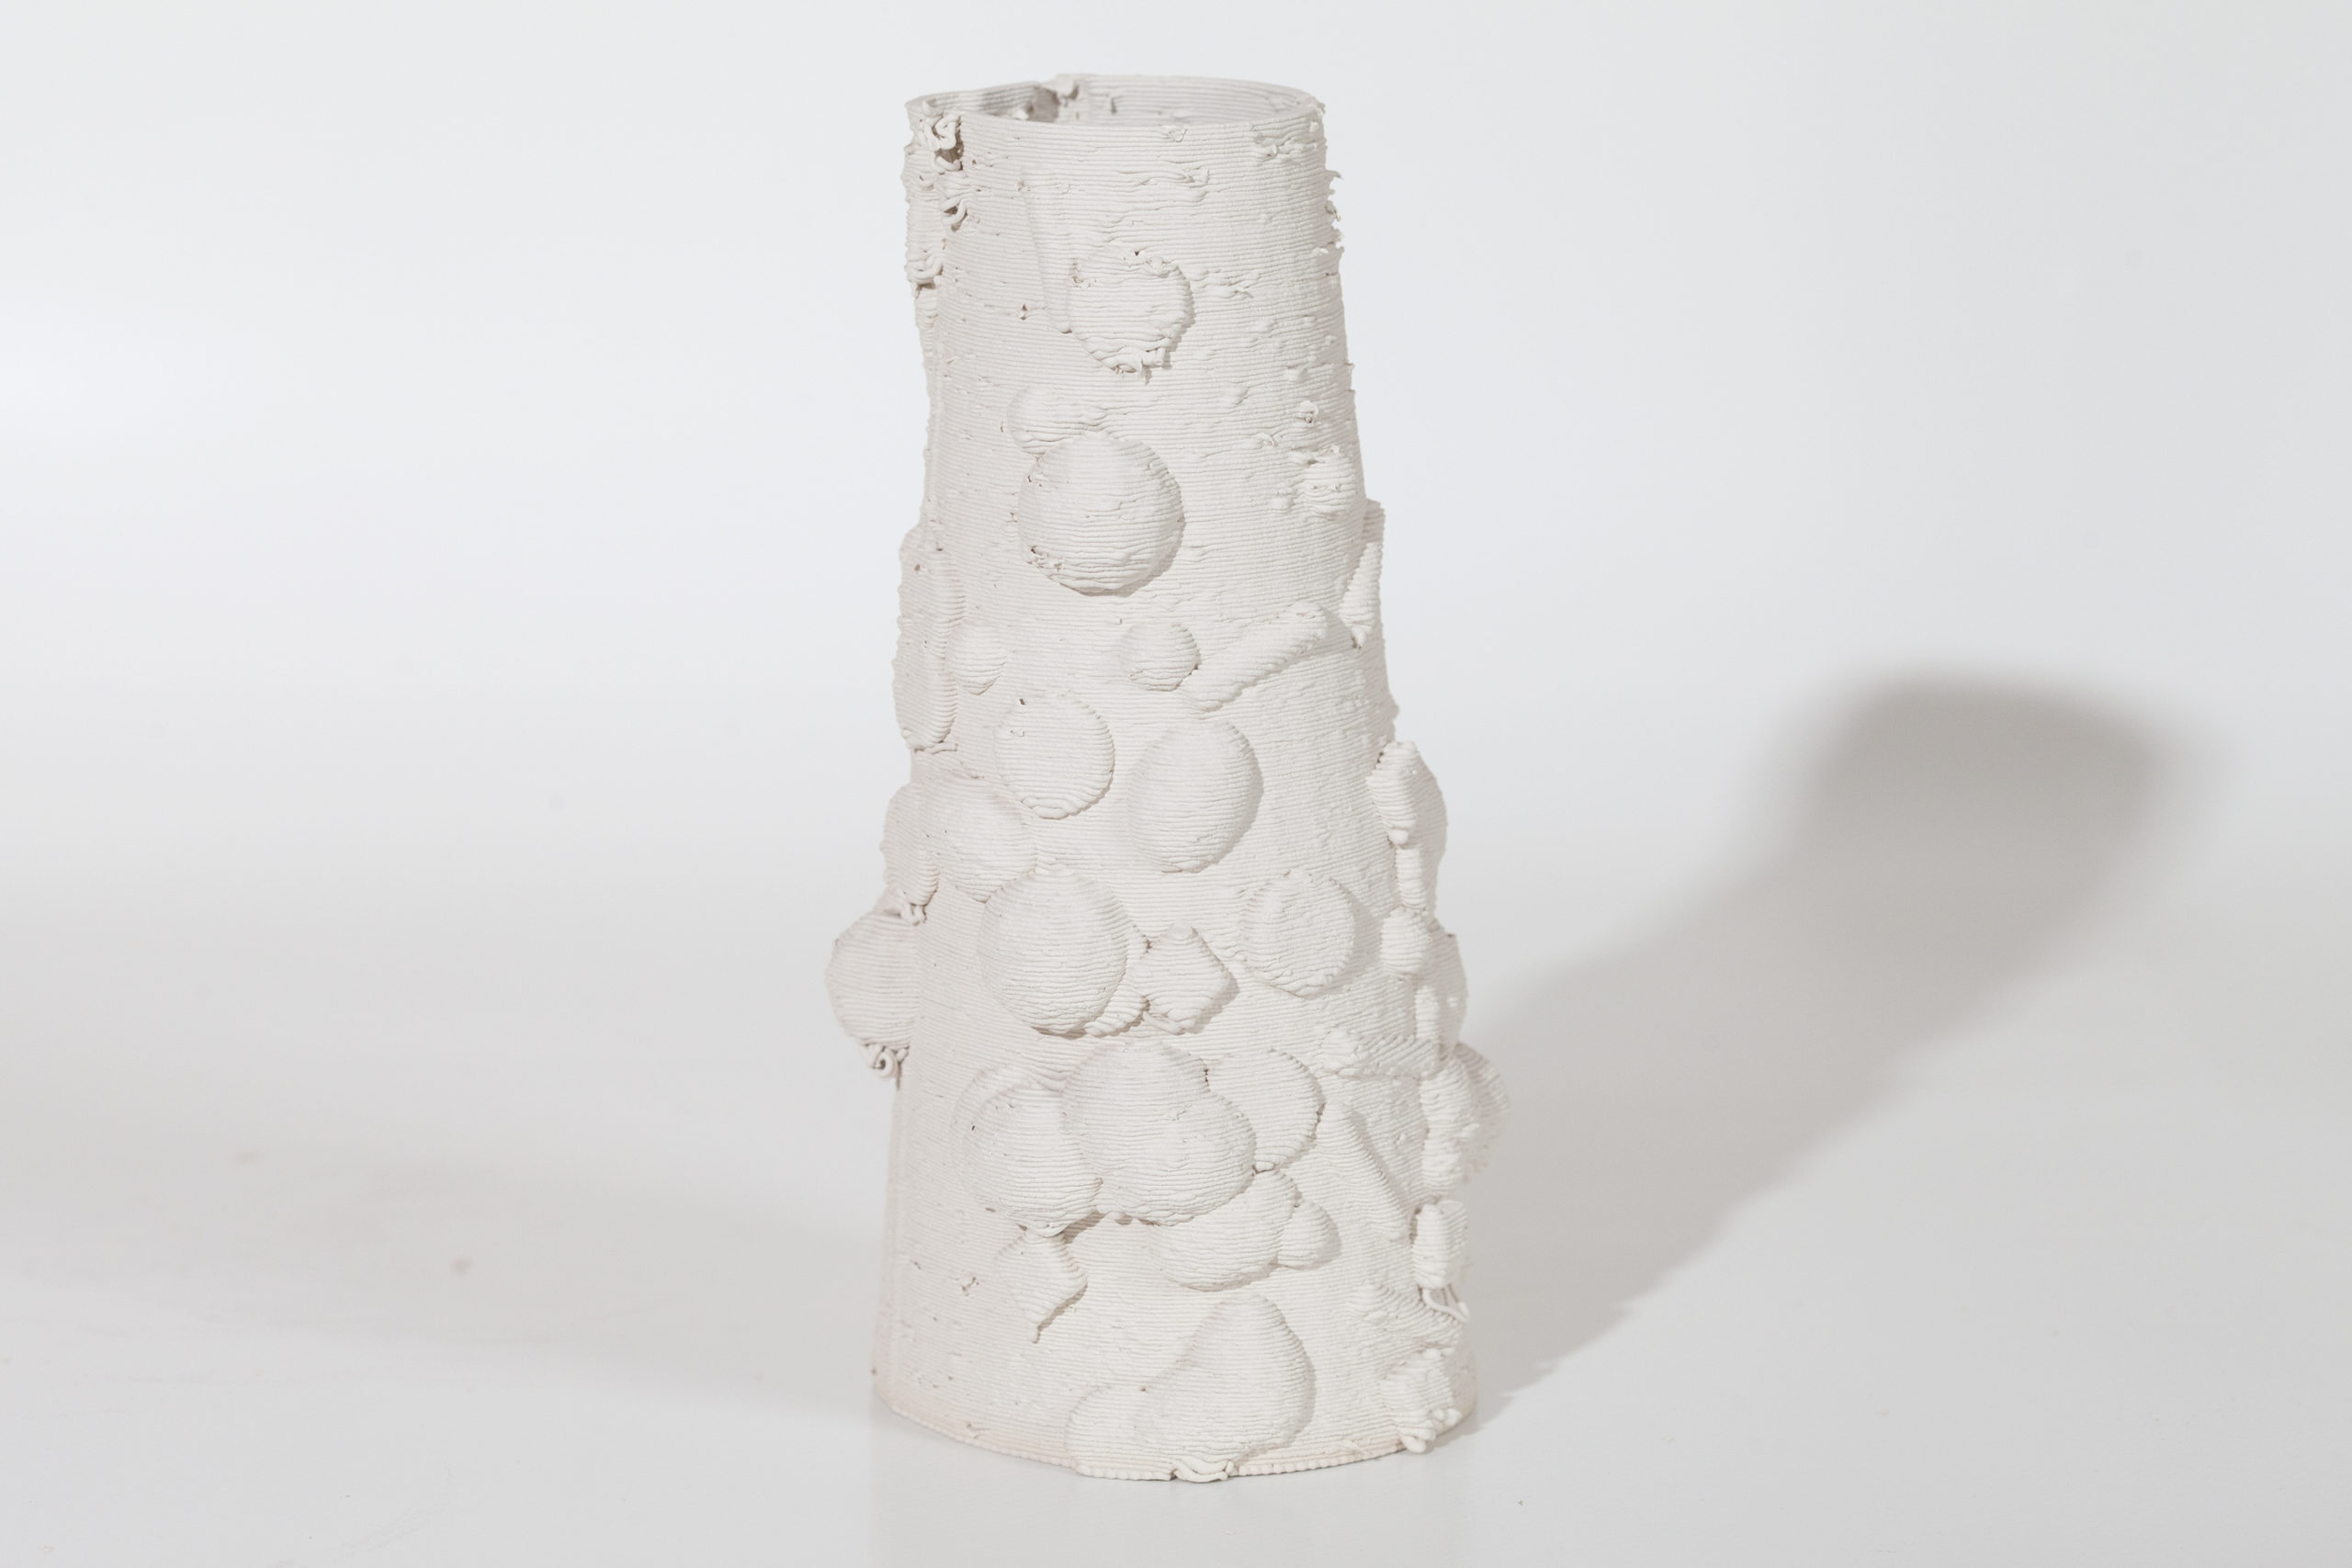
Canister ran out of clay for the first time.
Re-wet next amount, load following day etc. Working on technique to load, still hard to minimize air bubbles. 1st time I placed the clay on the board and shoved canister down onto it, this worked well, but when I inverted the canister all the clay slid to the other end, maybe too much silicone lubricant? This time I clumped balls together and dropped them down the canister, not great, still clearly a lot of air.
After this I was printing at 80psi, and printed a great print (9/13), but 5min into the following print the push to connect at the exit of the canister failed, and the full amount of the clay blew out and shot across the room. Big mess. Probably pushing it too much with the pressure, needed at first but could have turned down. Really the problem was the chewed up end of the 12mm hose and the push to connect lost grip. Cut off end and works fine. Will order new tubing via McMaster.
Reloaded canister (using load edge and push to back technique seen in early JK video) and now running at around 60-65 psi. Working pretty well.
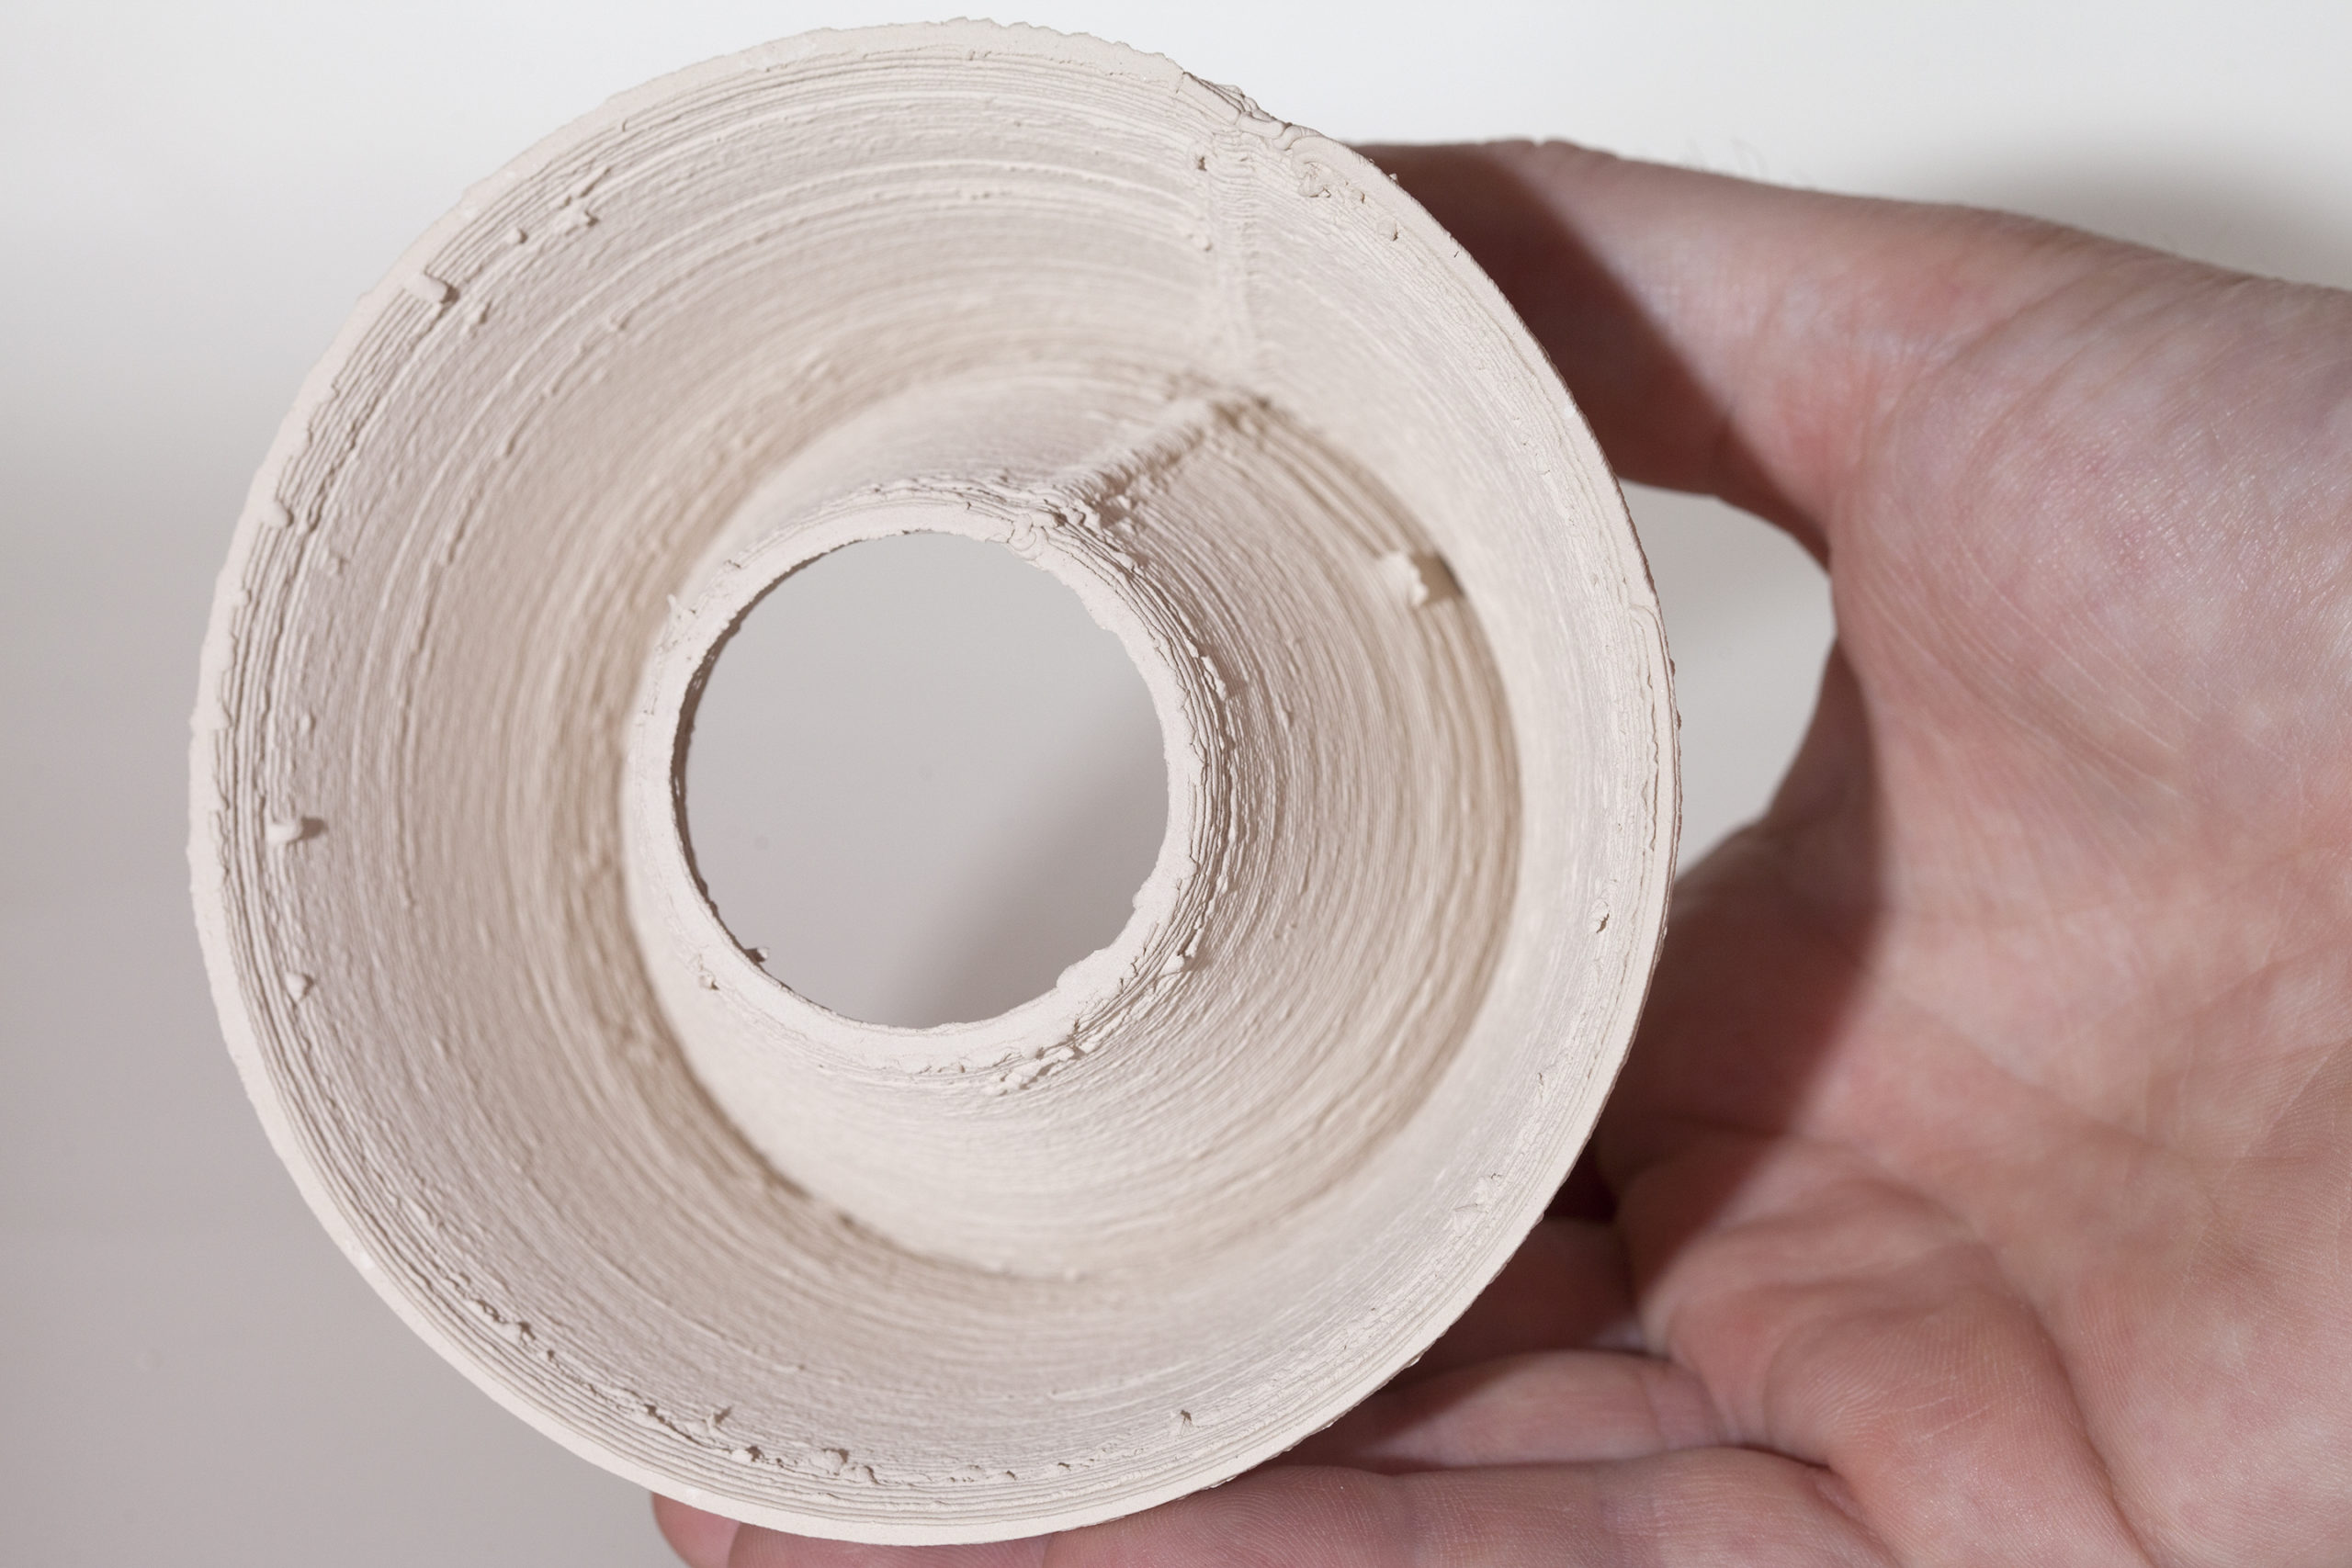
I took these dimensions so I could calculate how much clay will fit into the canister…
Canister tube OD 115mm, ID 110mm, L 390mm
Piston “Puck” – L 28mm
The above image shows the canister with both lids off of each end and the piston puck visible. The lid on the right has a 6mm push to connect to 1/4″ NPT thread. Next to it is a blow off valve, I manually adjusted this valve to vent at around 7.5 bar.
The above image shows the ‘out’ end of the canister which has a 12mm push to connect, I don’t know what threading this has, as it came from wasp and at this point in the line I didn’t need to replace any further connections.
1st and 2nd “Particle” Vessel – Low Poly shape with randomly distributed instances of basic geometric shapes using UV map for density control.
Two bodies which meet and join at z>0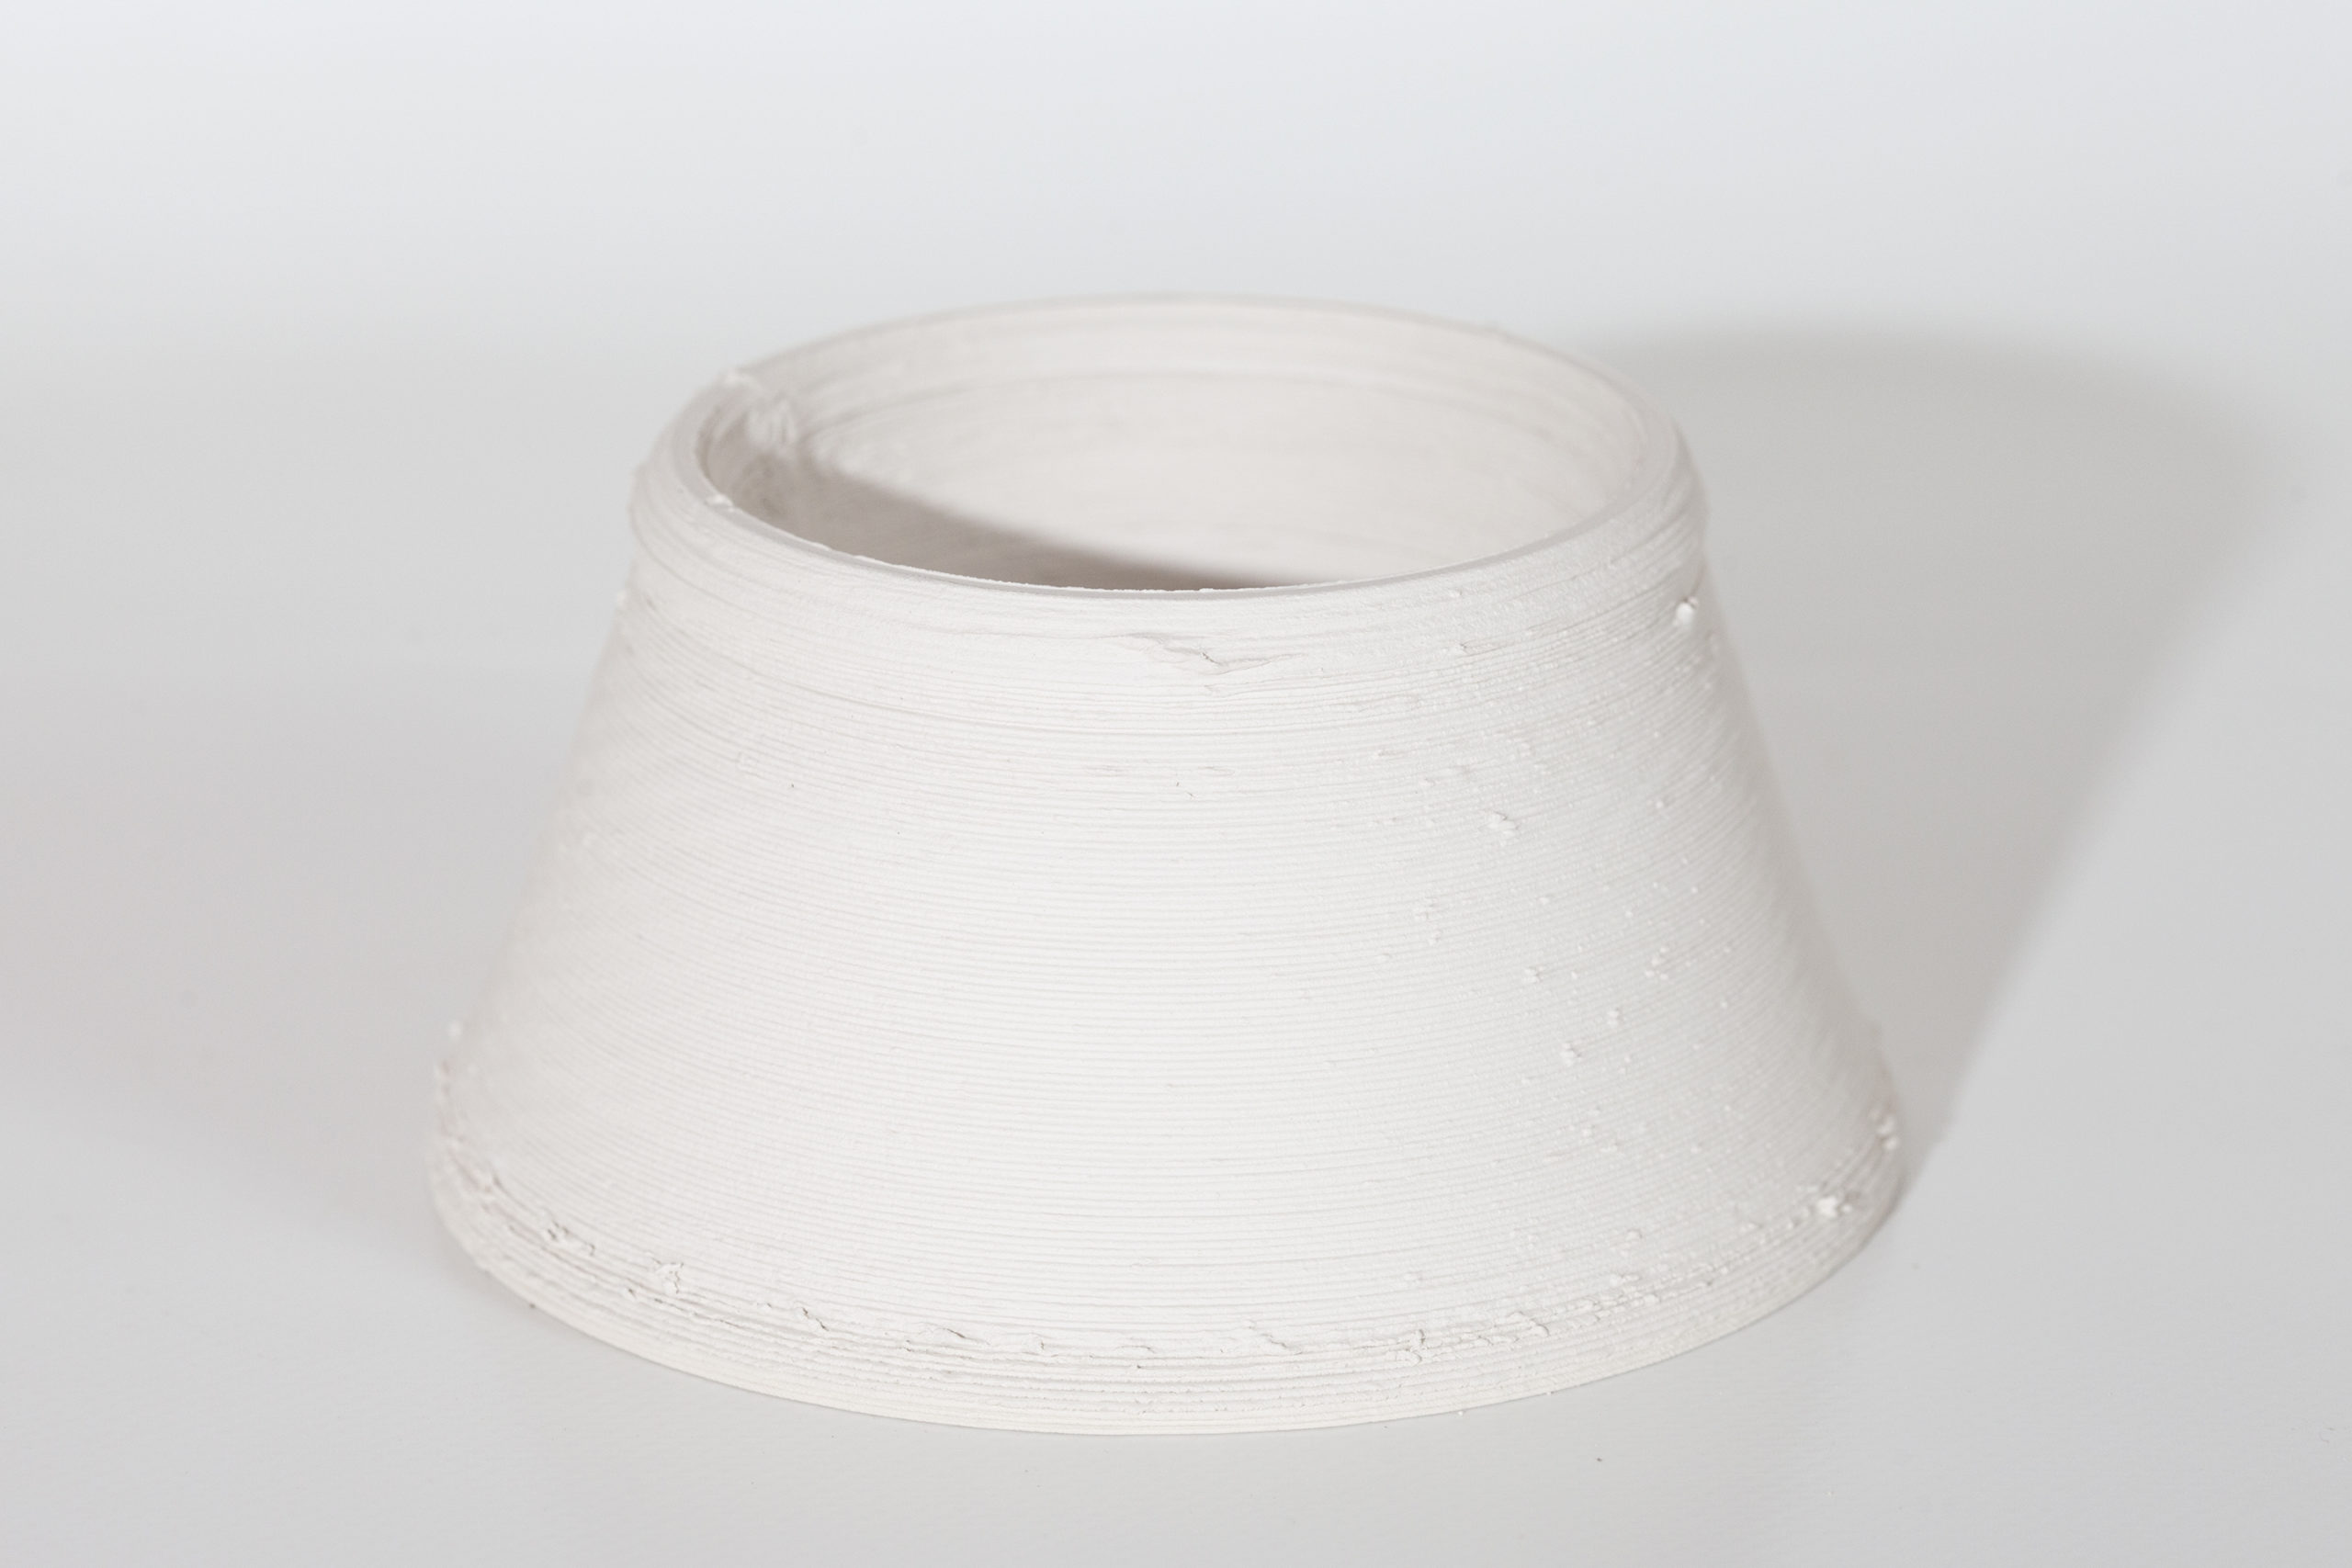
Seam super visible, needs adjustment
91deg (hot day)
2×2 “Tile”
~0.375″ Thick
Fell over at 40%
This was the first test I did with infill, I think that the scale of the front back and the infill was too dense and overflow got on the head causing the tip over.
The line of the infill is noticeable on the front (and rear) face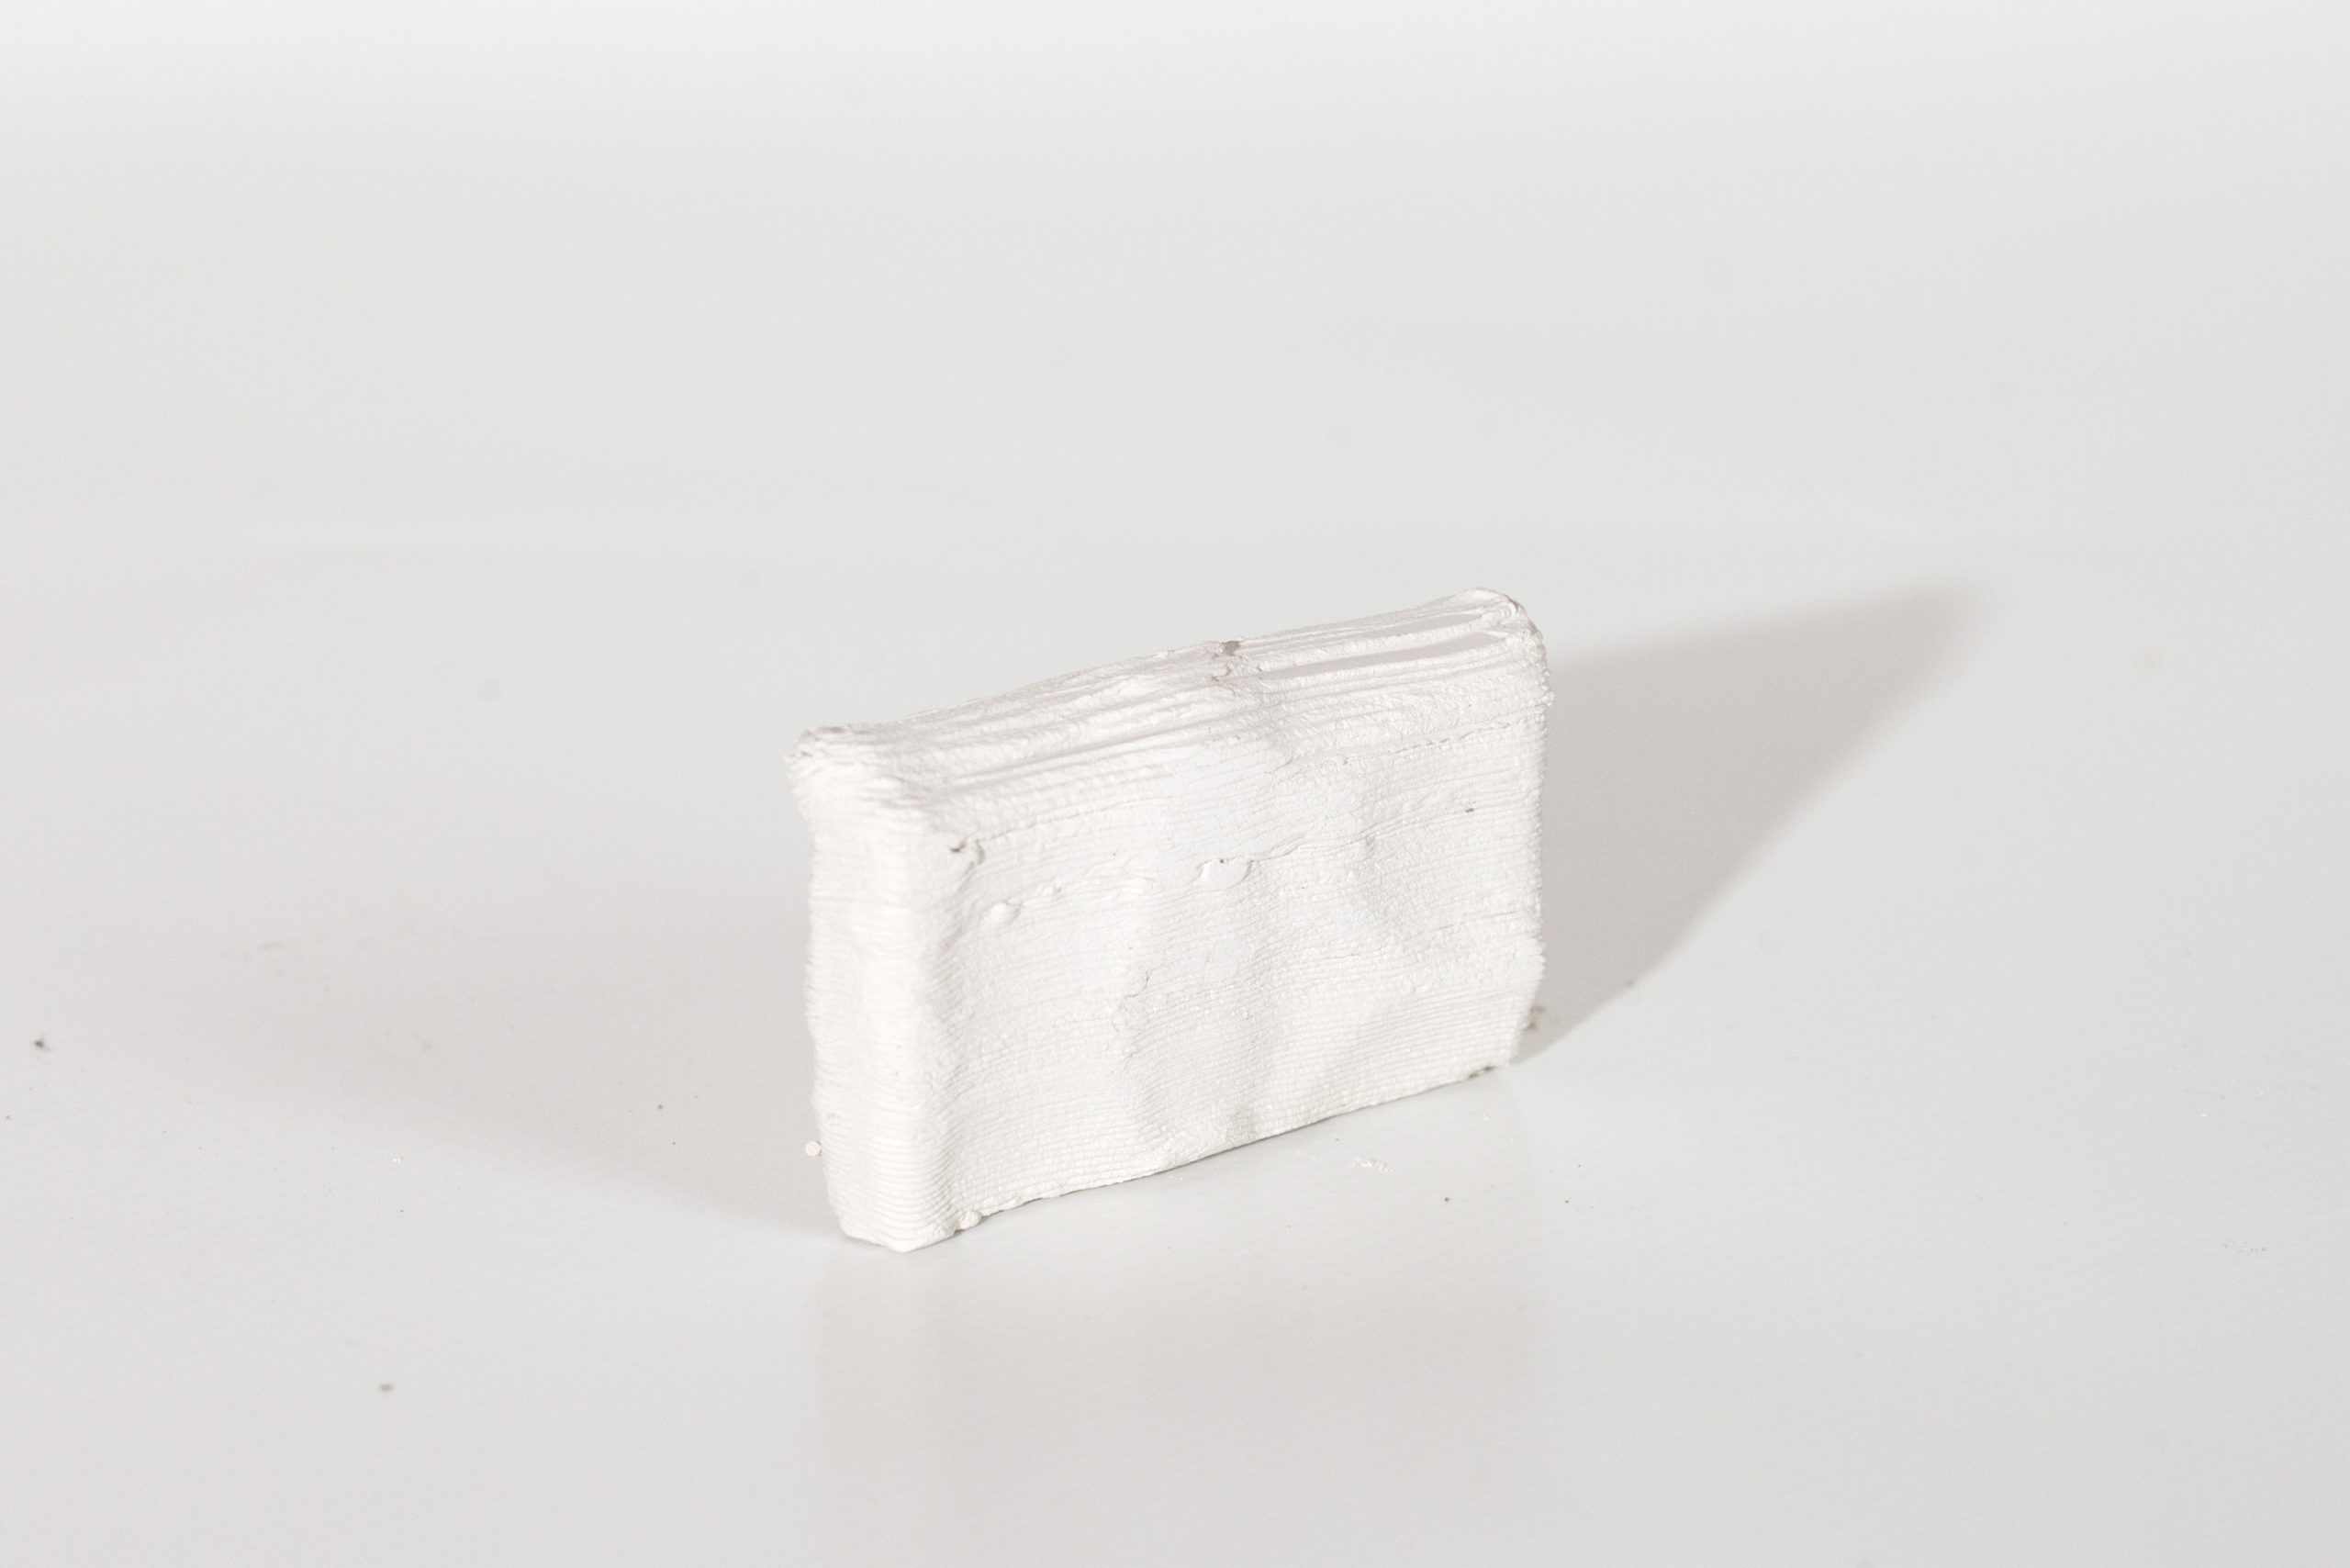
3×3 Tile
~0.625″ Thick
22 min
1 massive air bubble with full layer lost (visible), despite this the print completed
Infill still visible from outside, and the entire piece twisted dramatically during print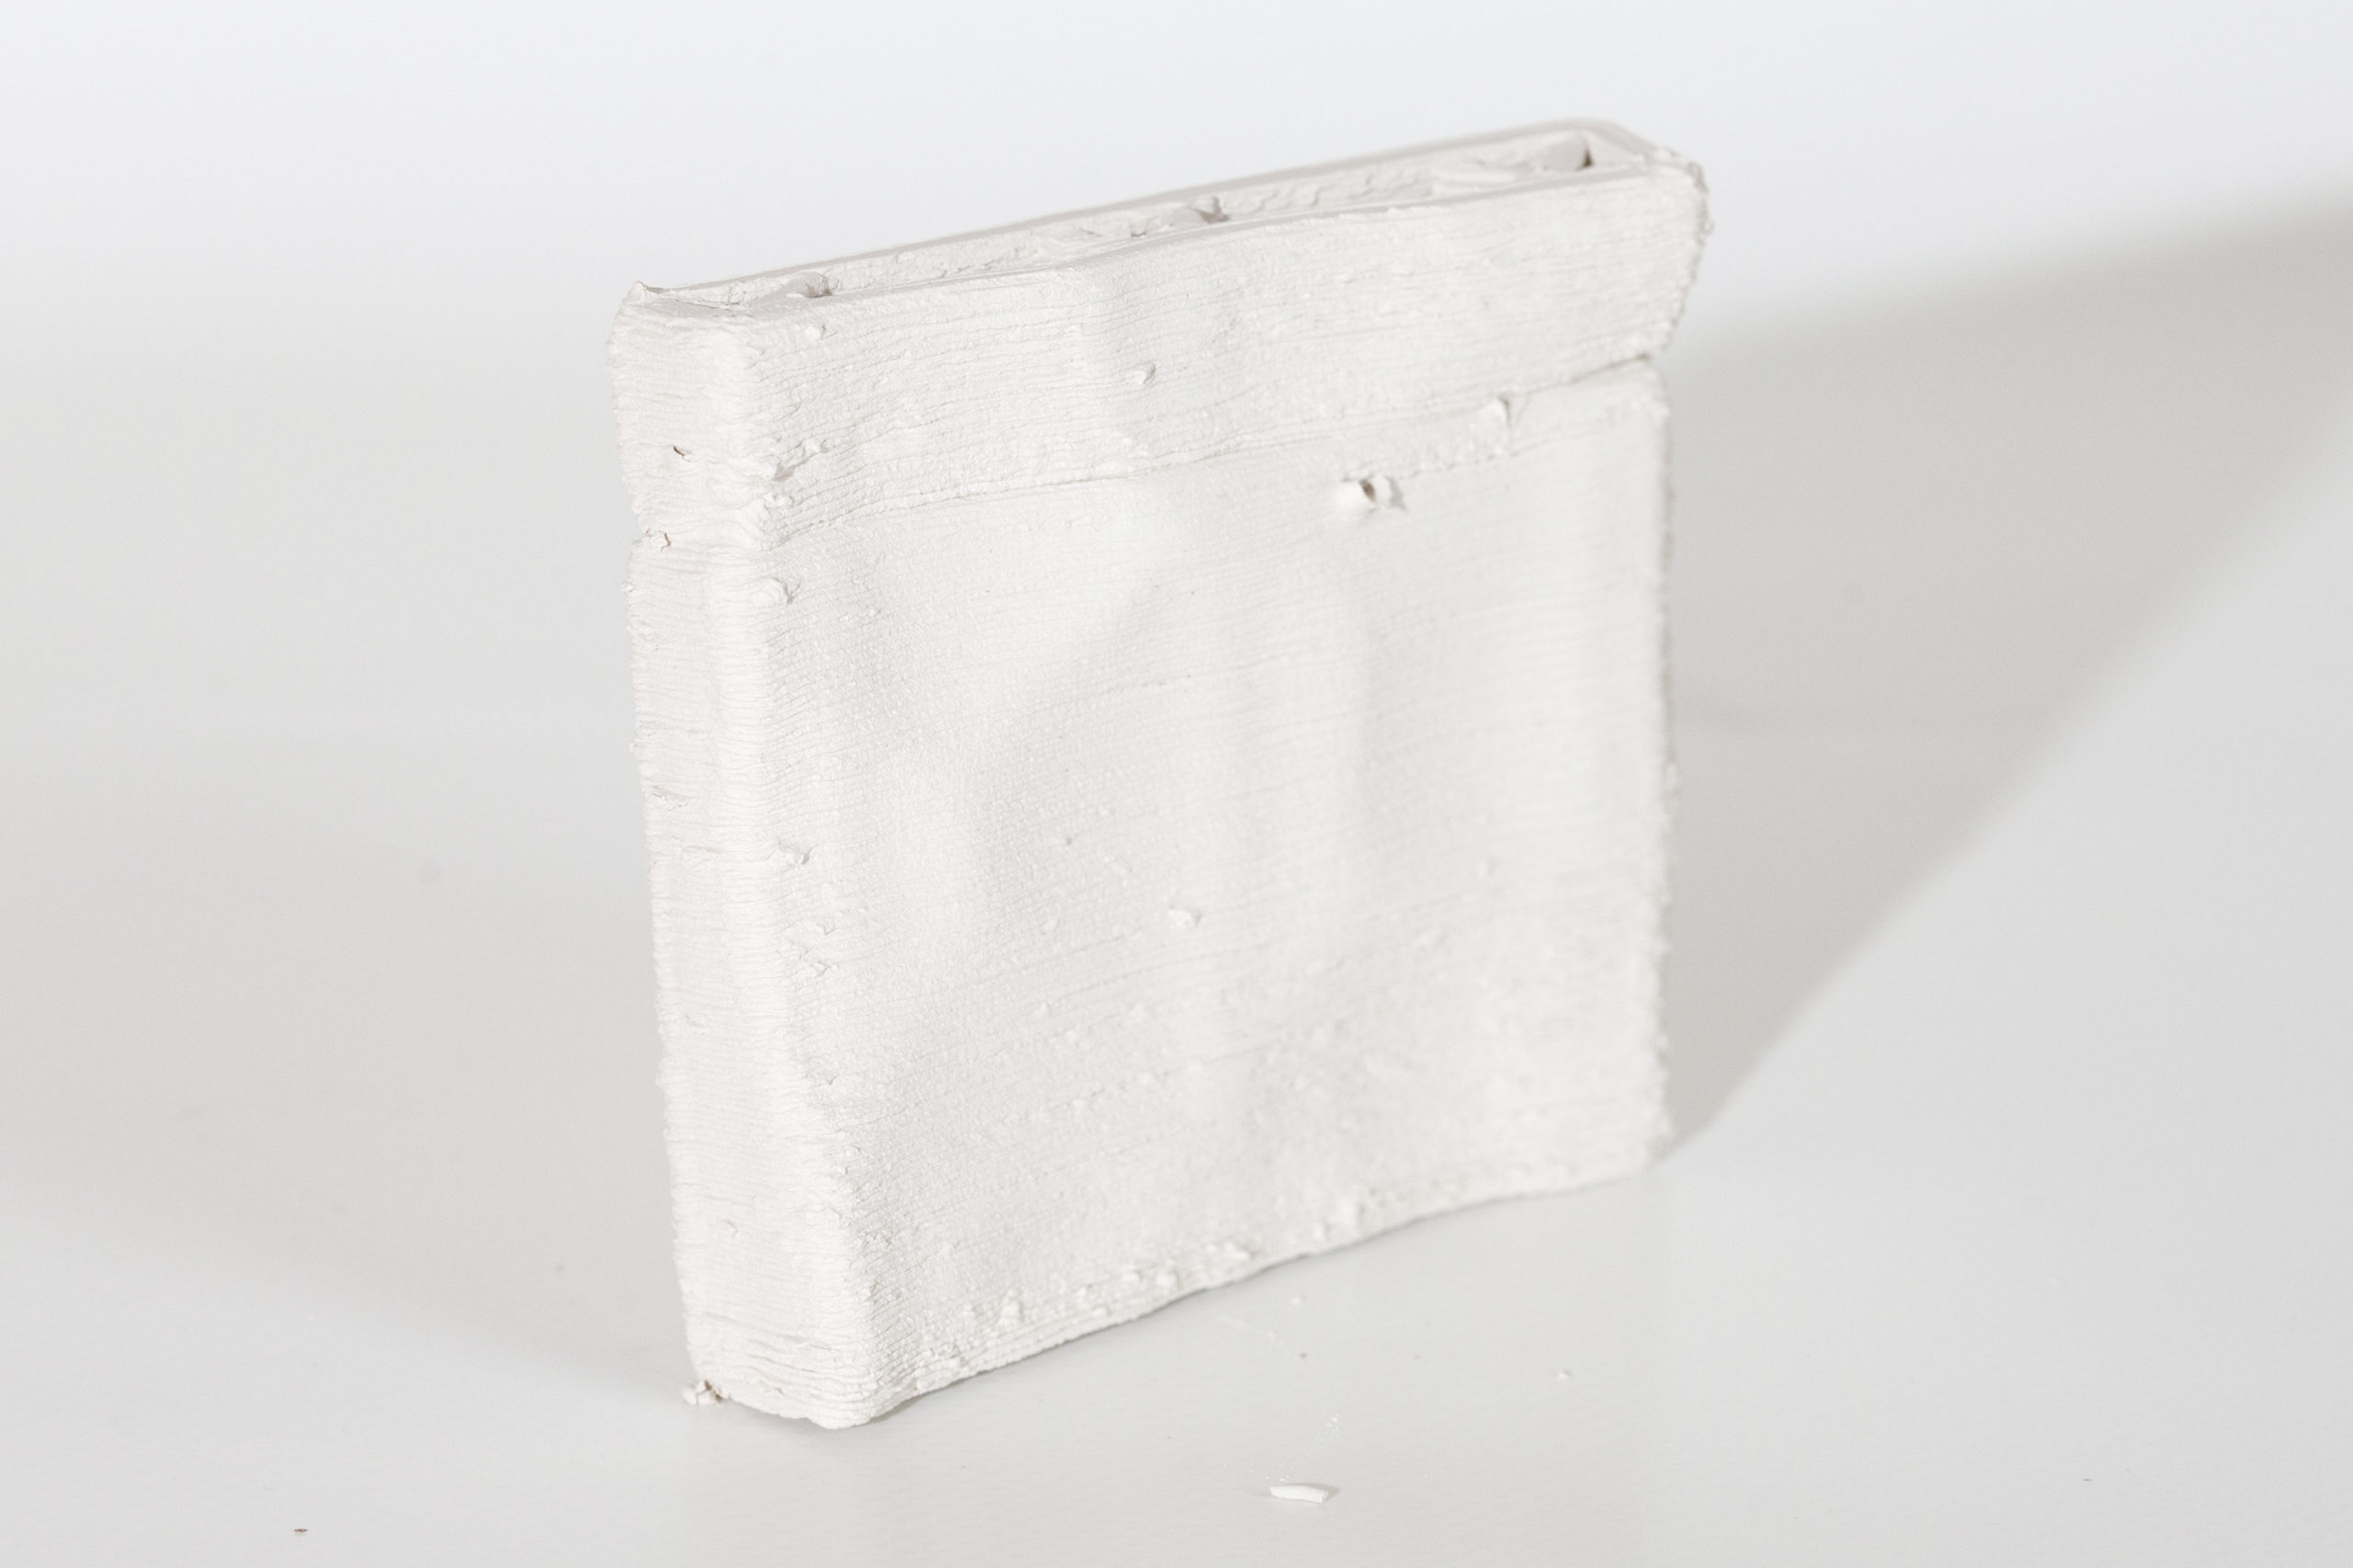
Double Cone test
Experimenting with two intersecting bodies overlapping.
Cura removes material at overlap (or only does outside faces, but that would fail, ?)
Will the two bodies bond despite no material at seam?
1st print successful, with bond but major pulling issue when print head switches from body to body. I attempted to fix this a few different ways with the Cura settings. I tried to implement retraction at layer change, but this picked up the whole print.
I was able to print without the pulling, with retraction turned on but no z hop, and combing turned to both. 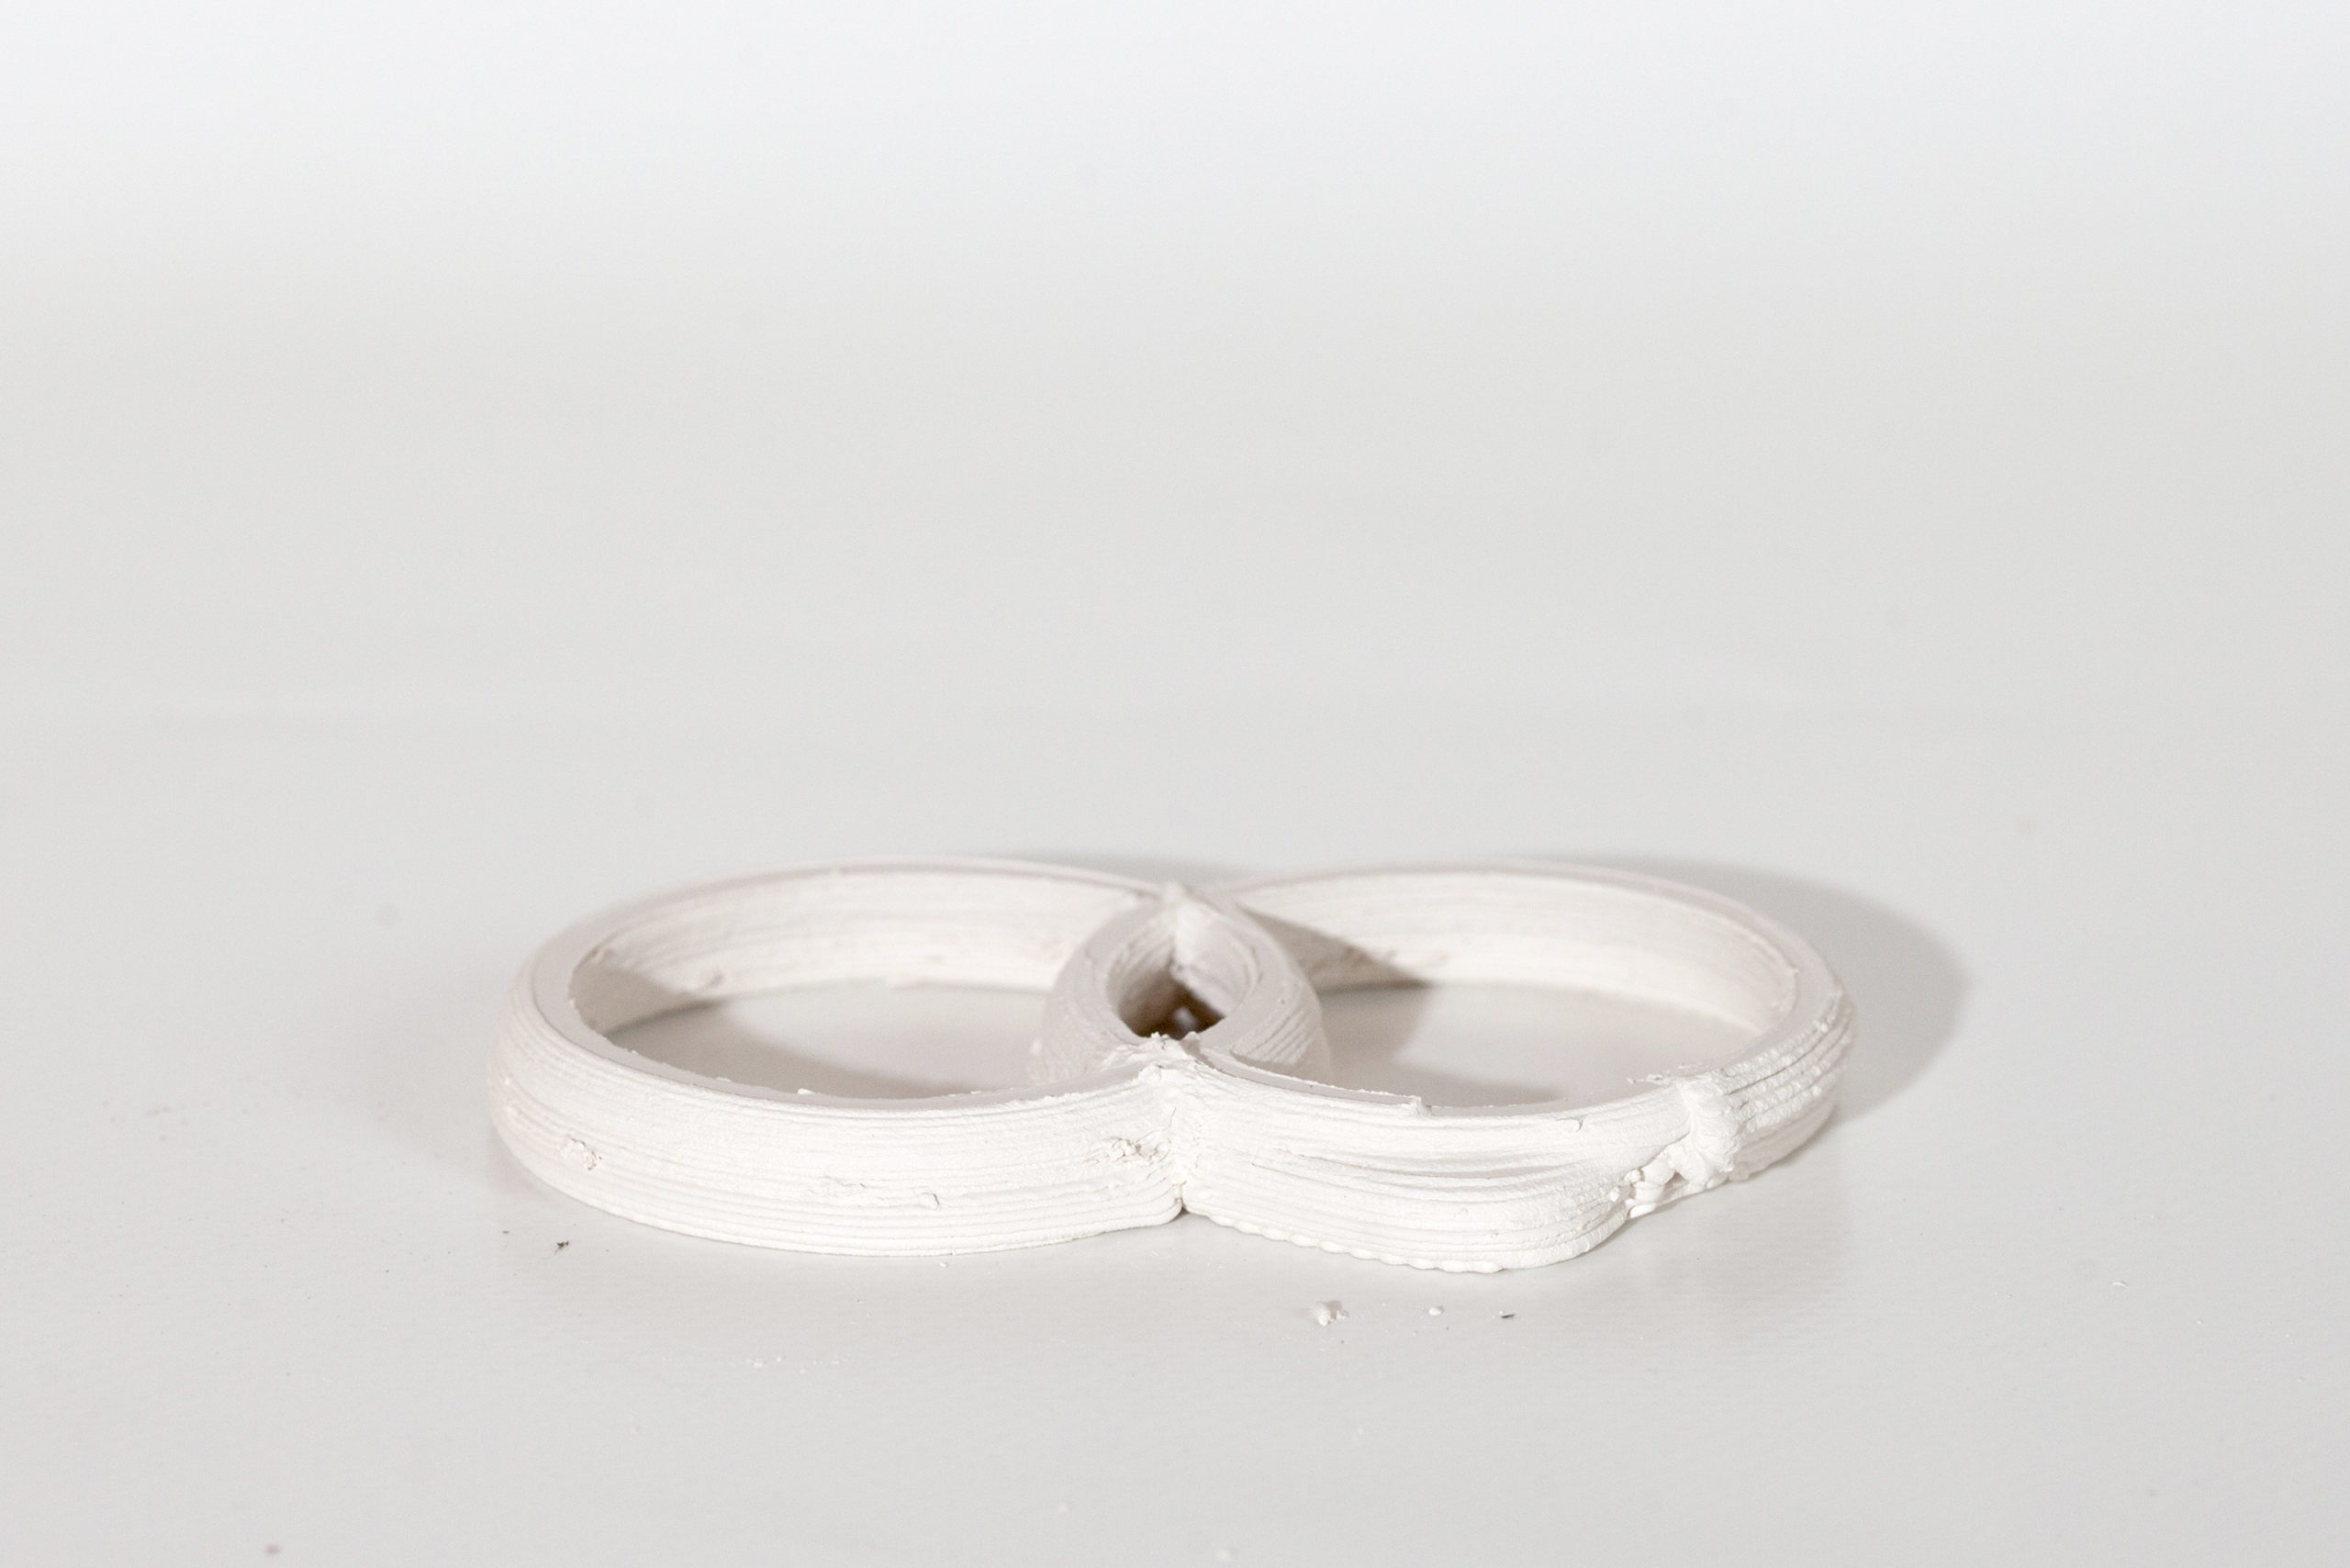
With some adjustments I was able to print the full body, but with some major pulling as it moved from body to body. 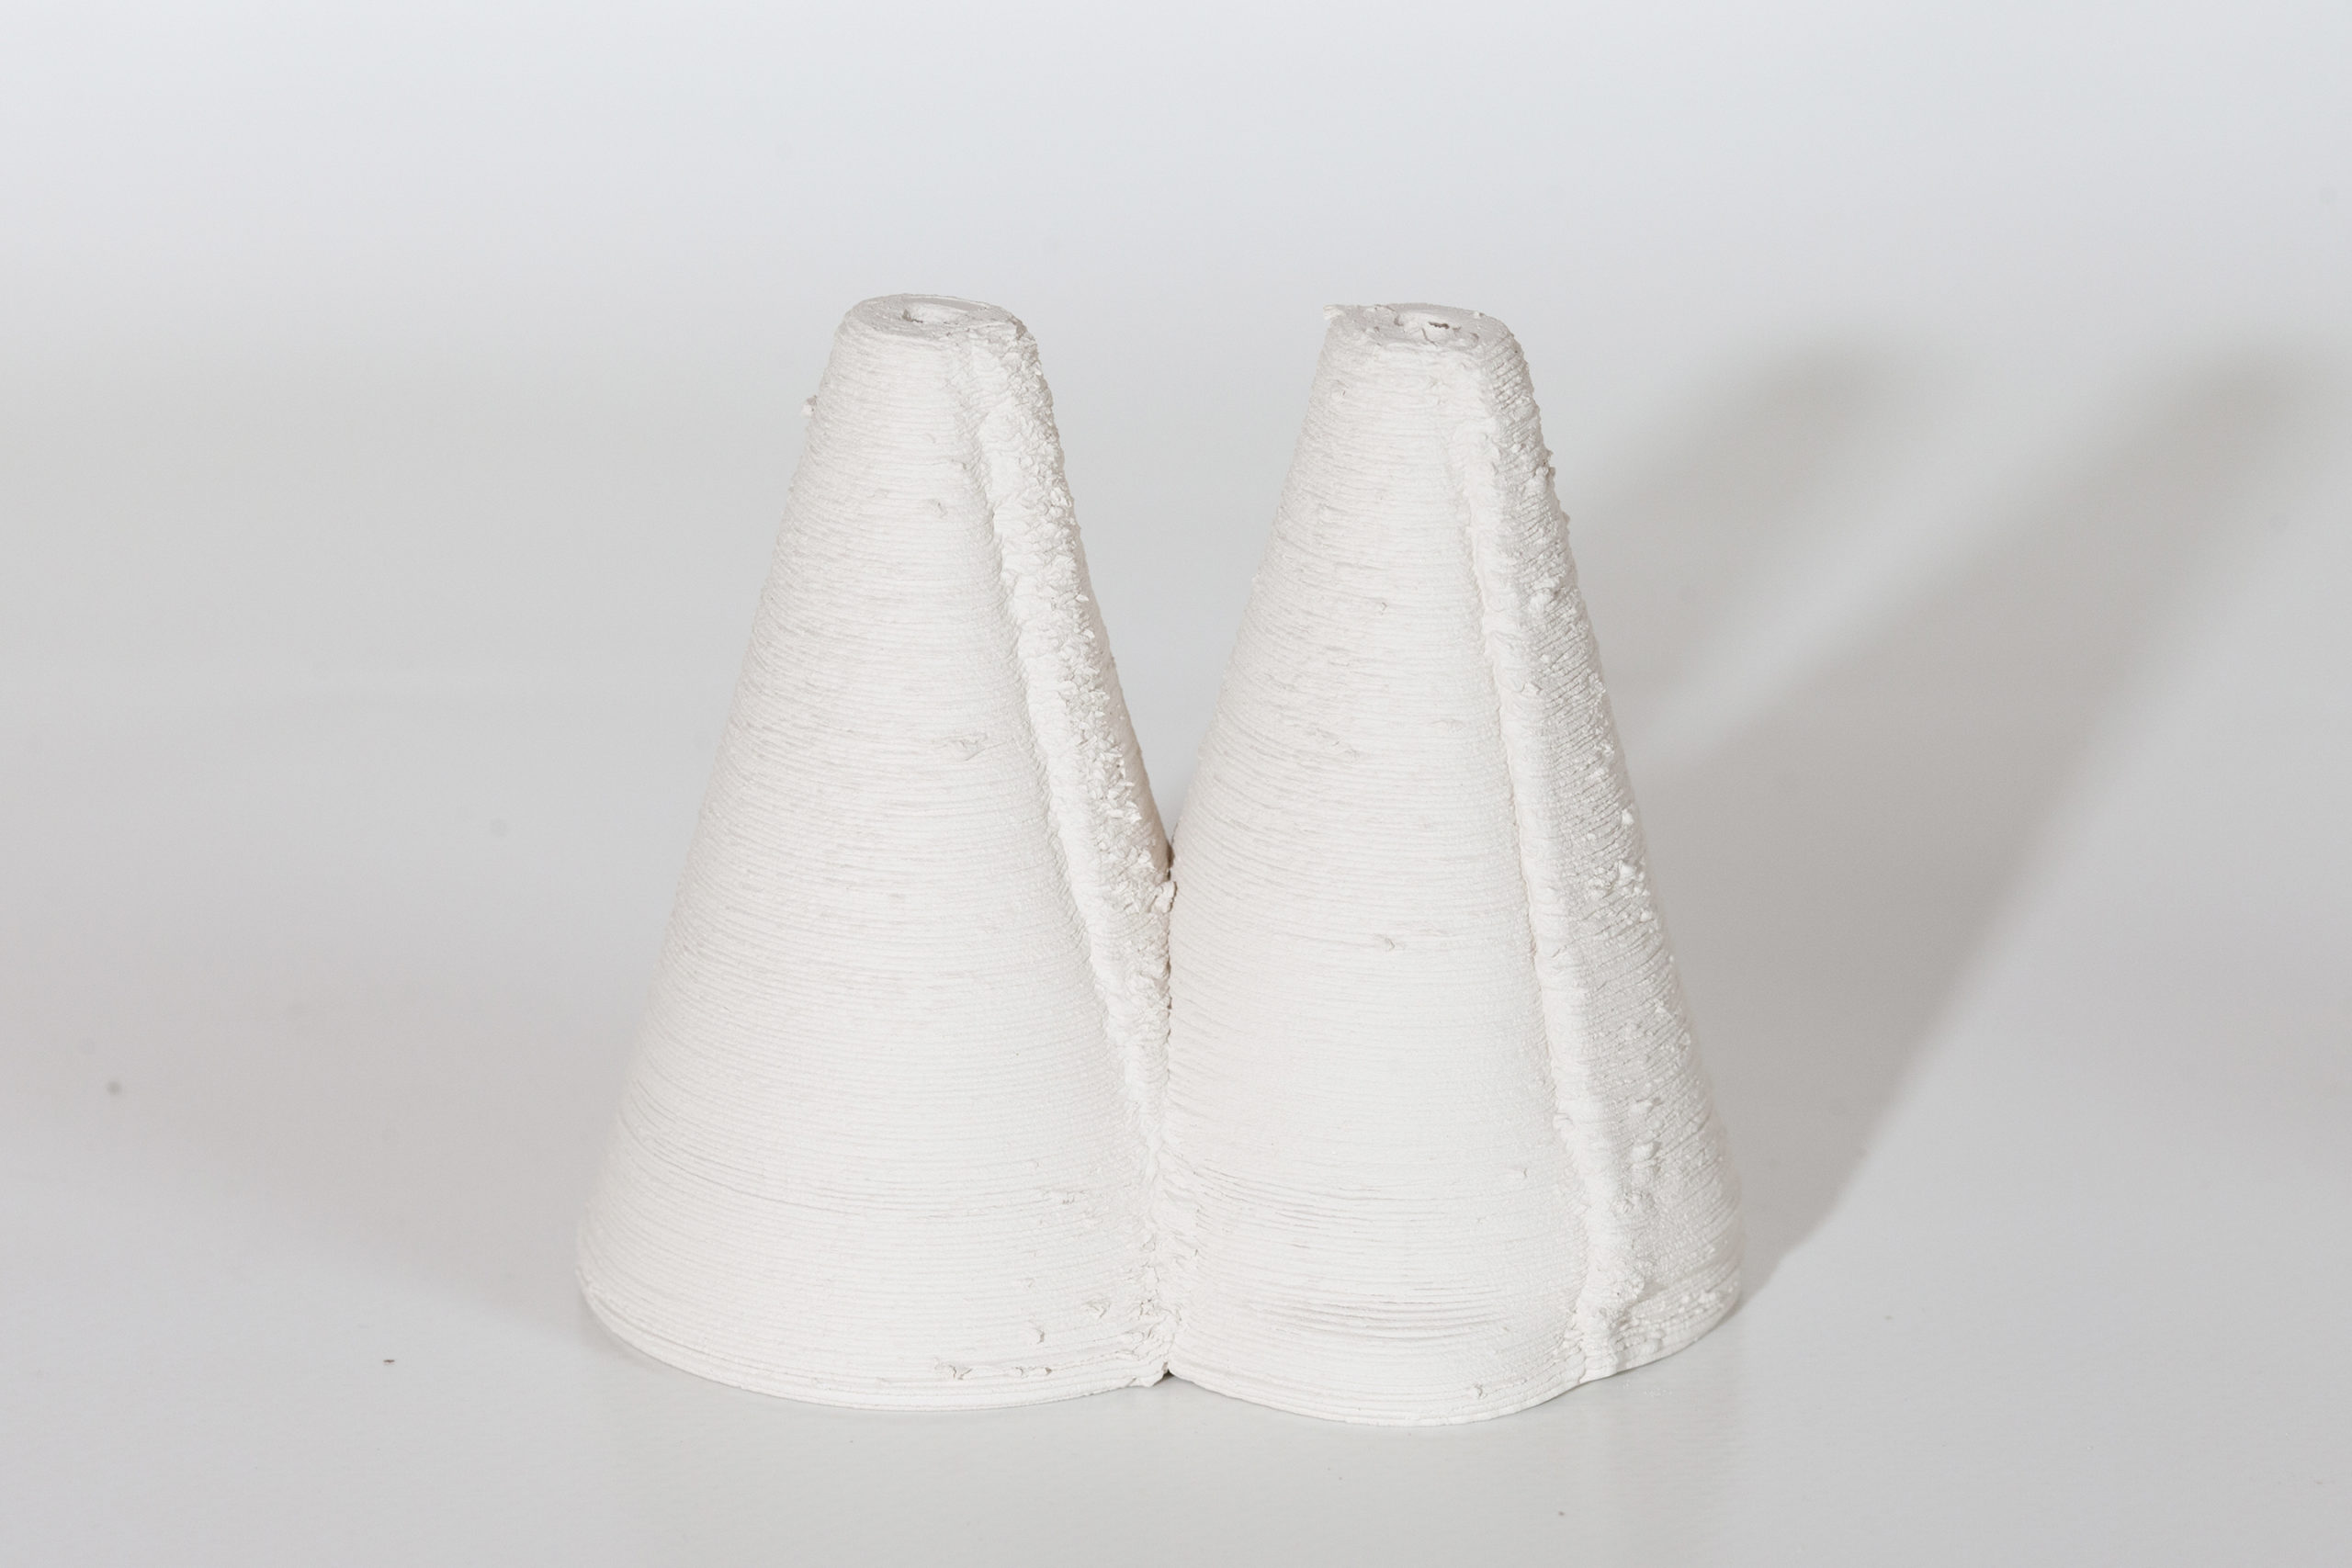
Changing maybe too many things in the Cura and not sure why this time it worked.
But print came out, and I dropped the printhead into it, so printed again, and came out again. Surface could be cleaner
9/4
Double walled shape with connecting (1layer) bottom
PSI 55
Failure at 55% best
Pulling while switching volumes
Bottom lattice working ok, but open
Later prints (9/9) of this with 3 layers will not work. 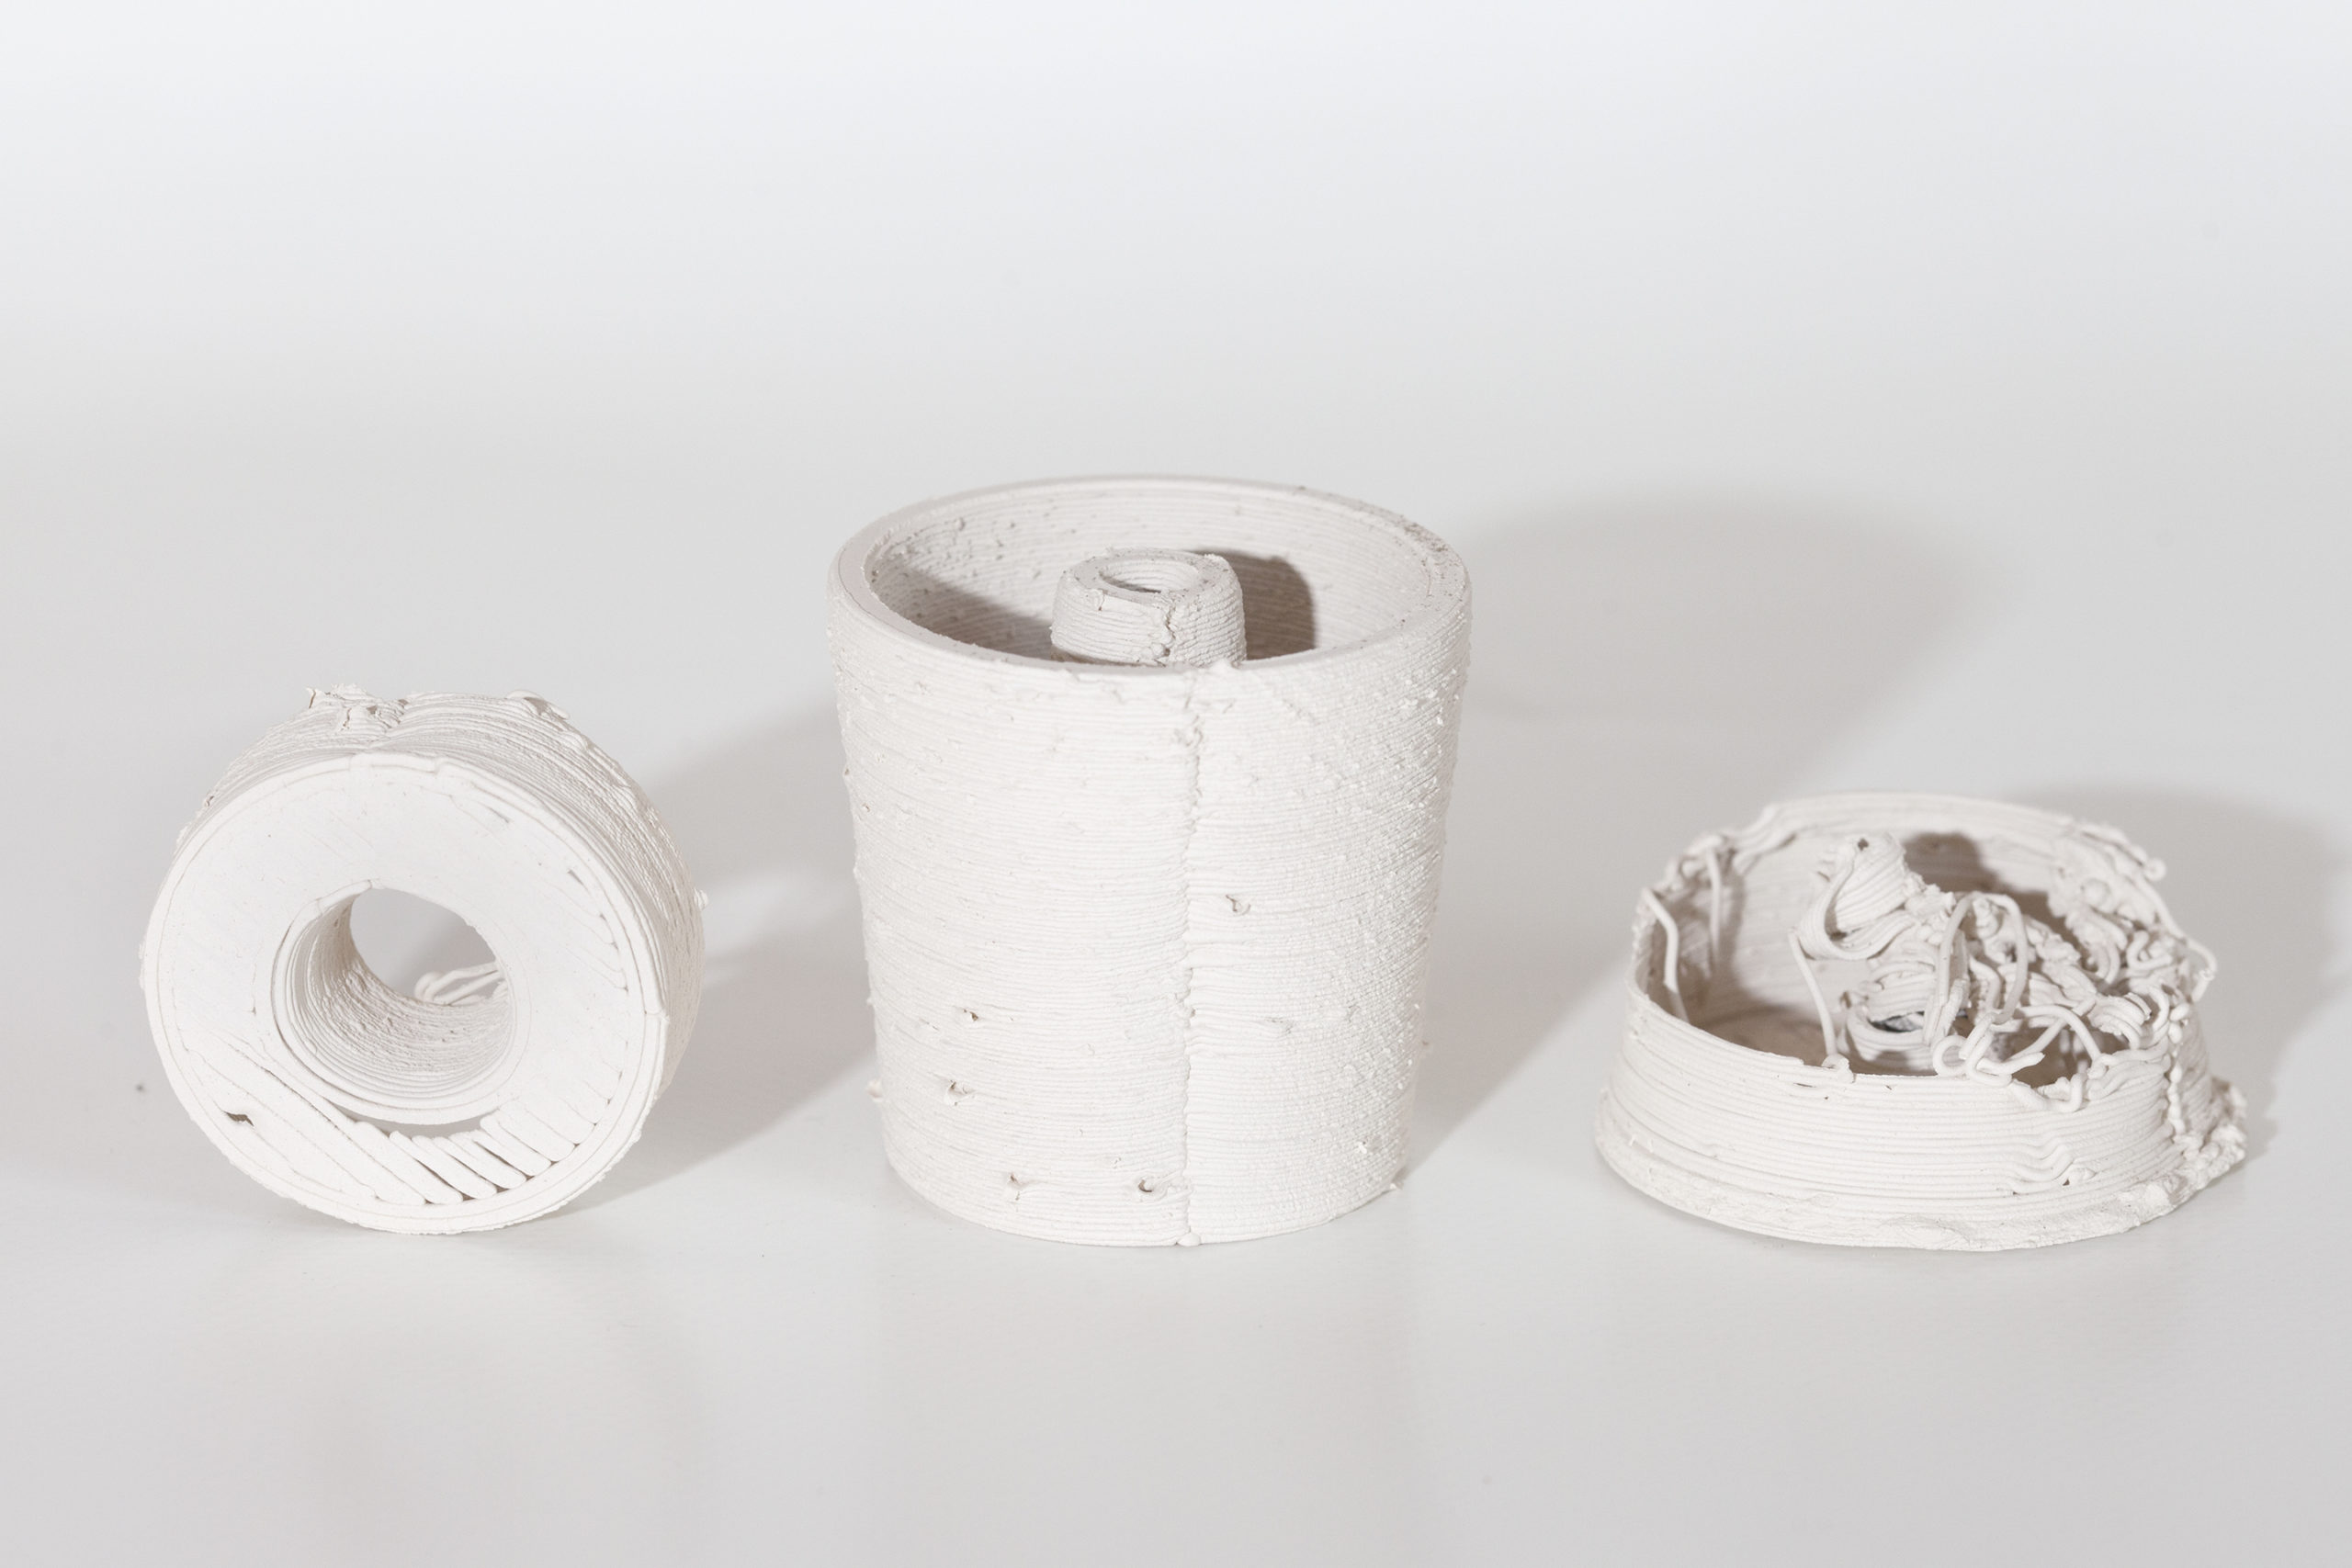
Rectangle with 2 layer bottom, 1 curved face
50, 55, 60psi
3 trys, but bottom fills in (at higher psi)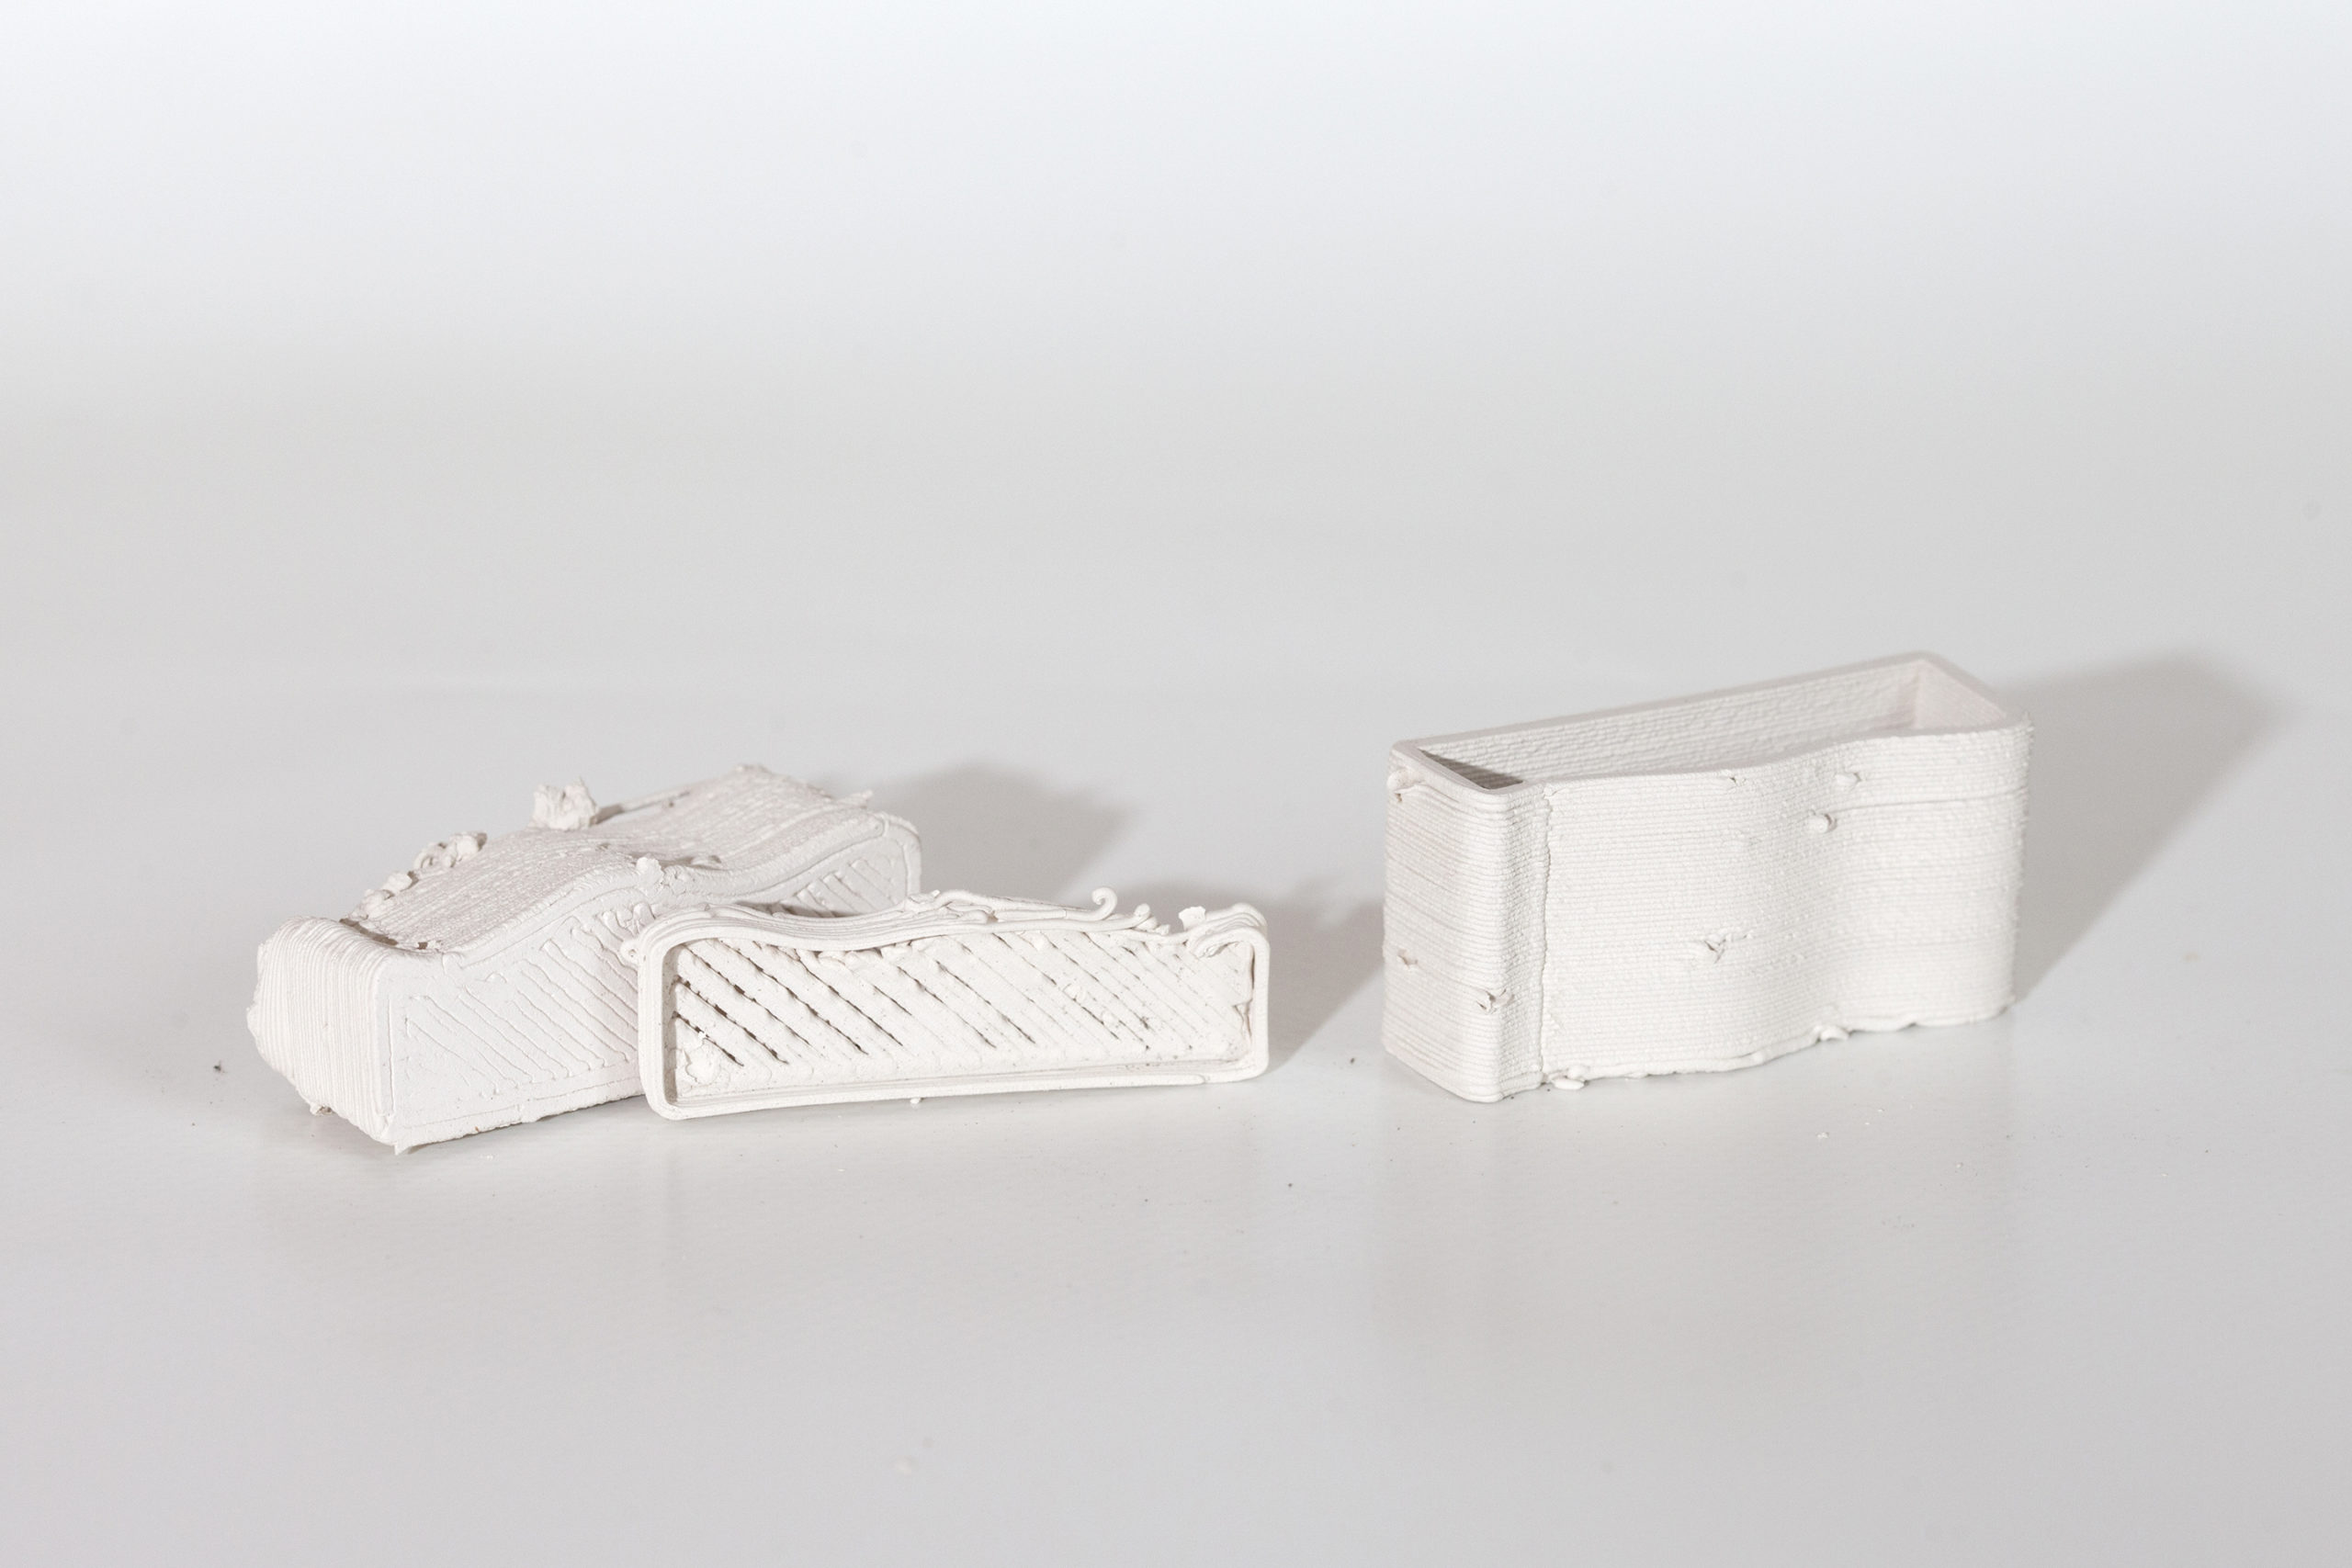
Abstract shape (via 1st try with blender) – Just to see
Happy with the result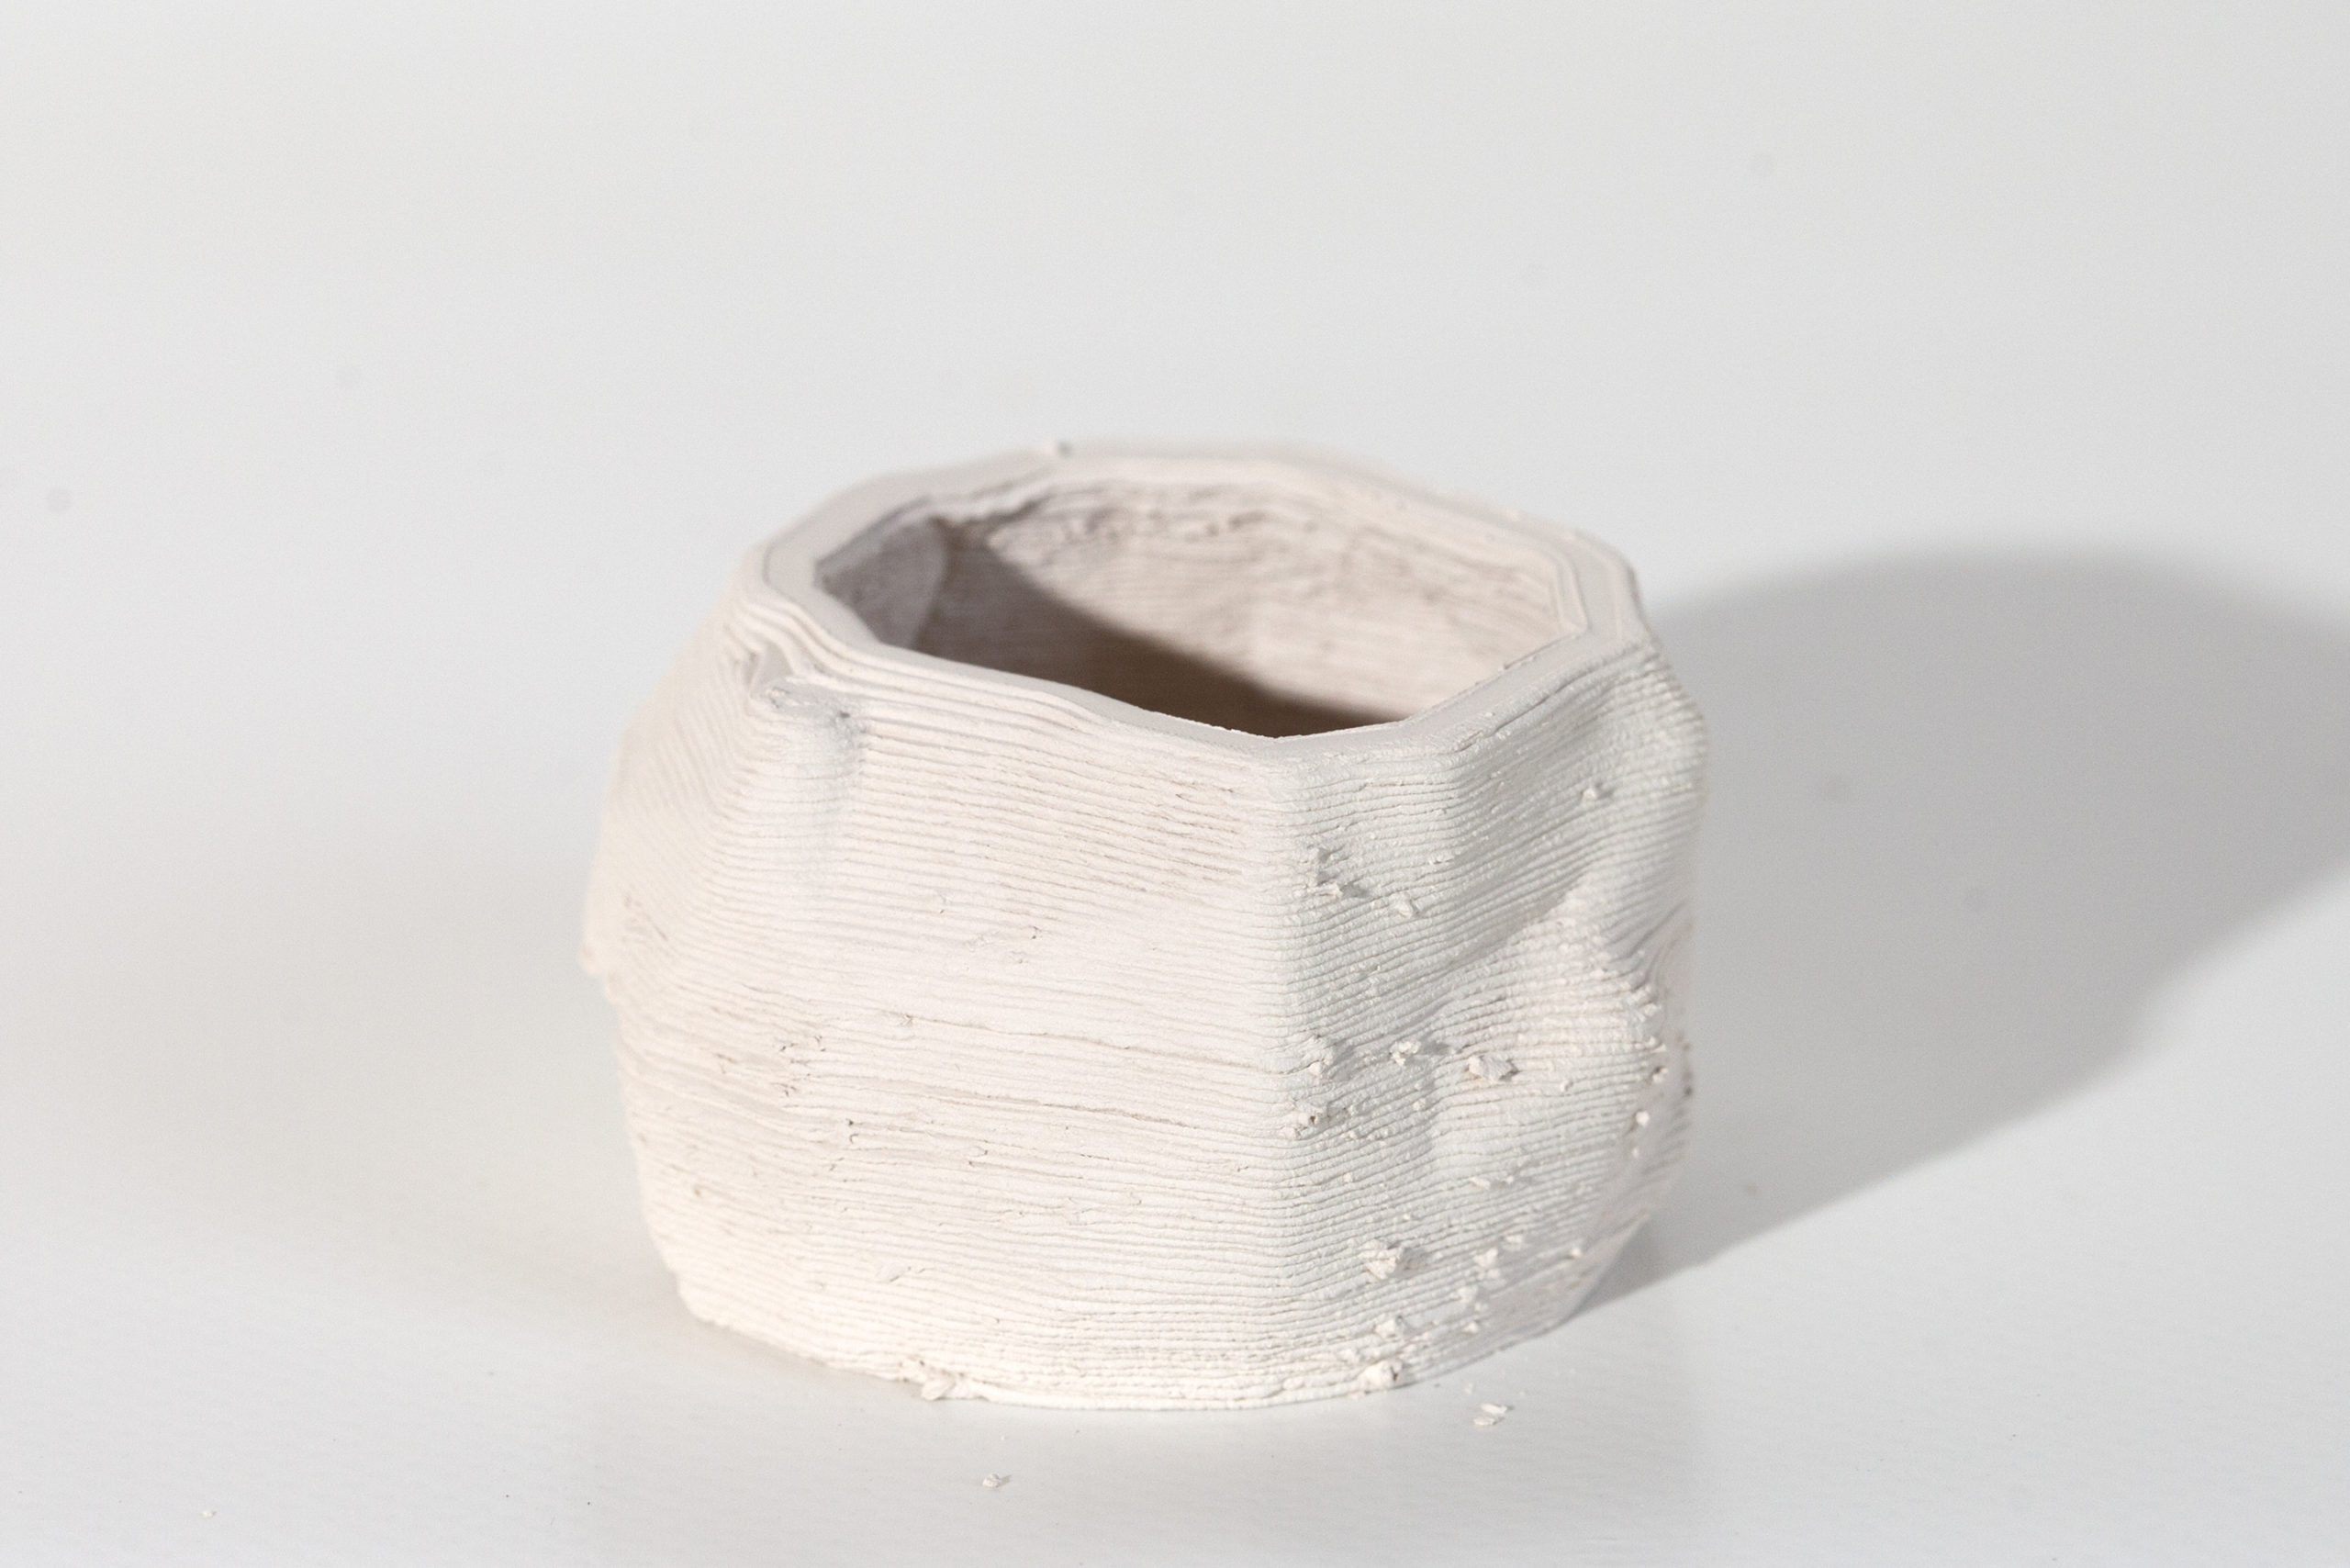
The Rig:
I had purchased 8″ hex tile to print on from Home Depot, but decided they were too hard (didn’t want print head falling into ceramic surface) so returned and purchased 42 clipboards from amazon for 30$. Cut off clip part, they’re a little lightweight, but work fine.
Delivery:
Overall system seems to be working, generally running around 55psi
Documentation:
9/3 institute photography setup
5D 25″ from target (at 30″) camera at 39″H
100mm Macro Lens
1 Profoto left of light @60″, 30deg uptilt, at 4.0
Little bit of natural light from right, white backdrop