Canister ran out of clay for the first time.
Re-wet next amount, load following day etc. Working on technique to load, still hard to minimize air bubbles. 1st time I placed the clay on the board and shoved canister down onto it, this worked well, but when I inverted the canister all the clay slid to the other end, maybe too much silicone lubricant? This time I clumped balls together and dropped them down the canister, not great, still clearly a lot of air.
After this I was printing at 80psi, and printed a great print (9/13), but 5min into the following print the push to connect at the exit of the canister failed, and the full amount of the clay blew out and shot across the room. Big mess. Probably pushing it too much with the pressure, needed at first but could have turned down. Really the problem was the chewed up end of the 12mm hose and the push to connect lost grip. Cut off end and works fine. Will order new tubing via McMaster.
Reloaded canister (using load edge and push to back technique seen in early JK video) and now running at around 60-65 psi. Working pretty well.
I took these dimensions so I could calculate how much clay will fit into the canister…
Canister tube OD 115mm, ID 110mm, L 390mm
Piston “Puck” – L 28mm
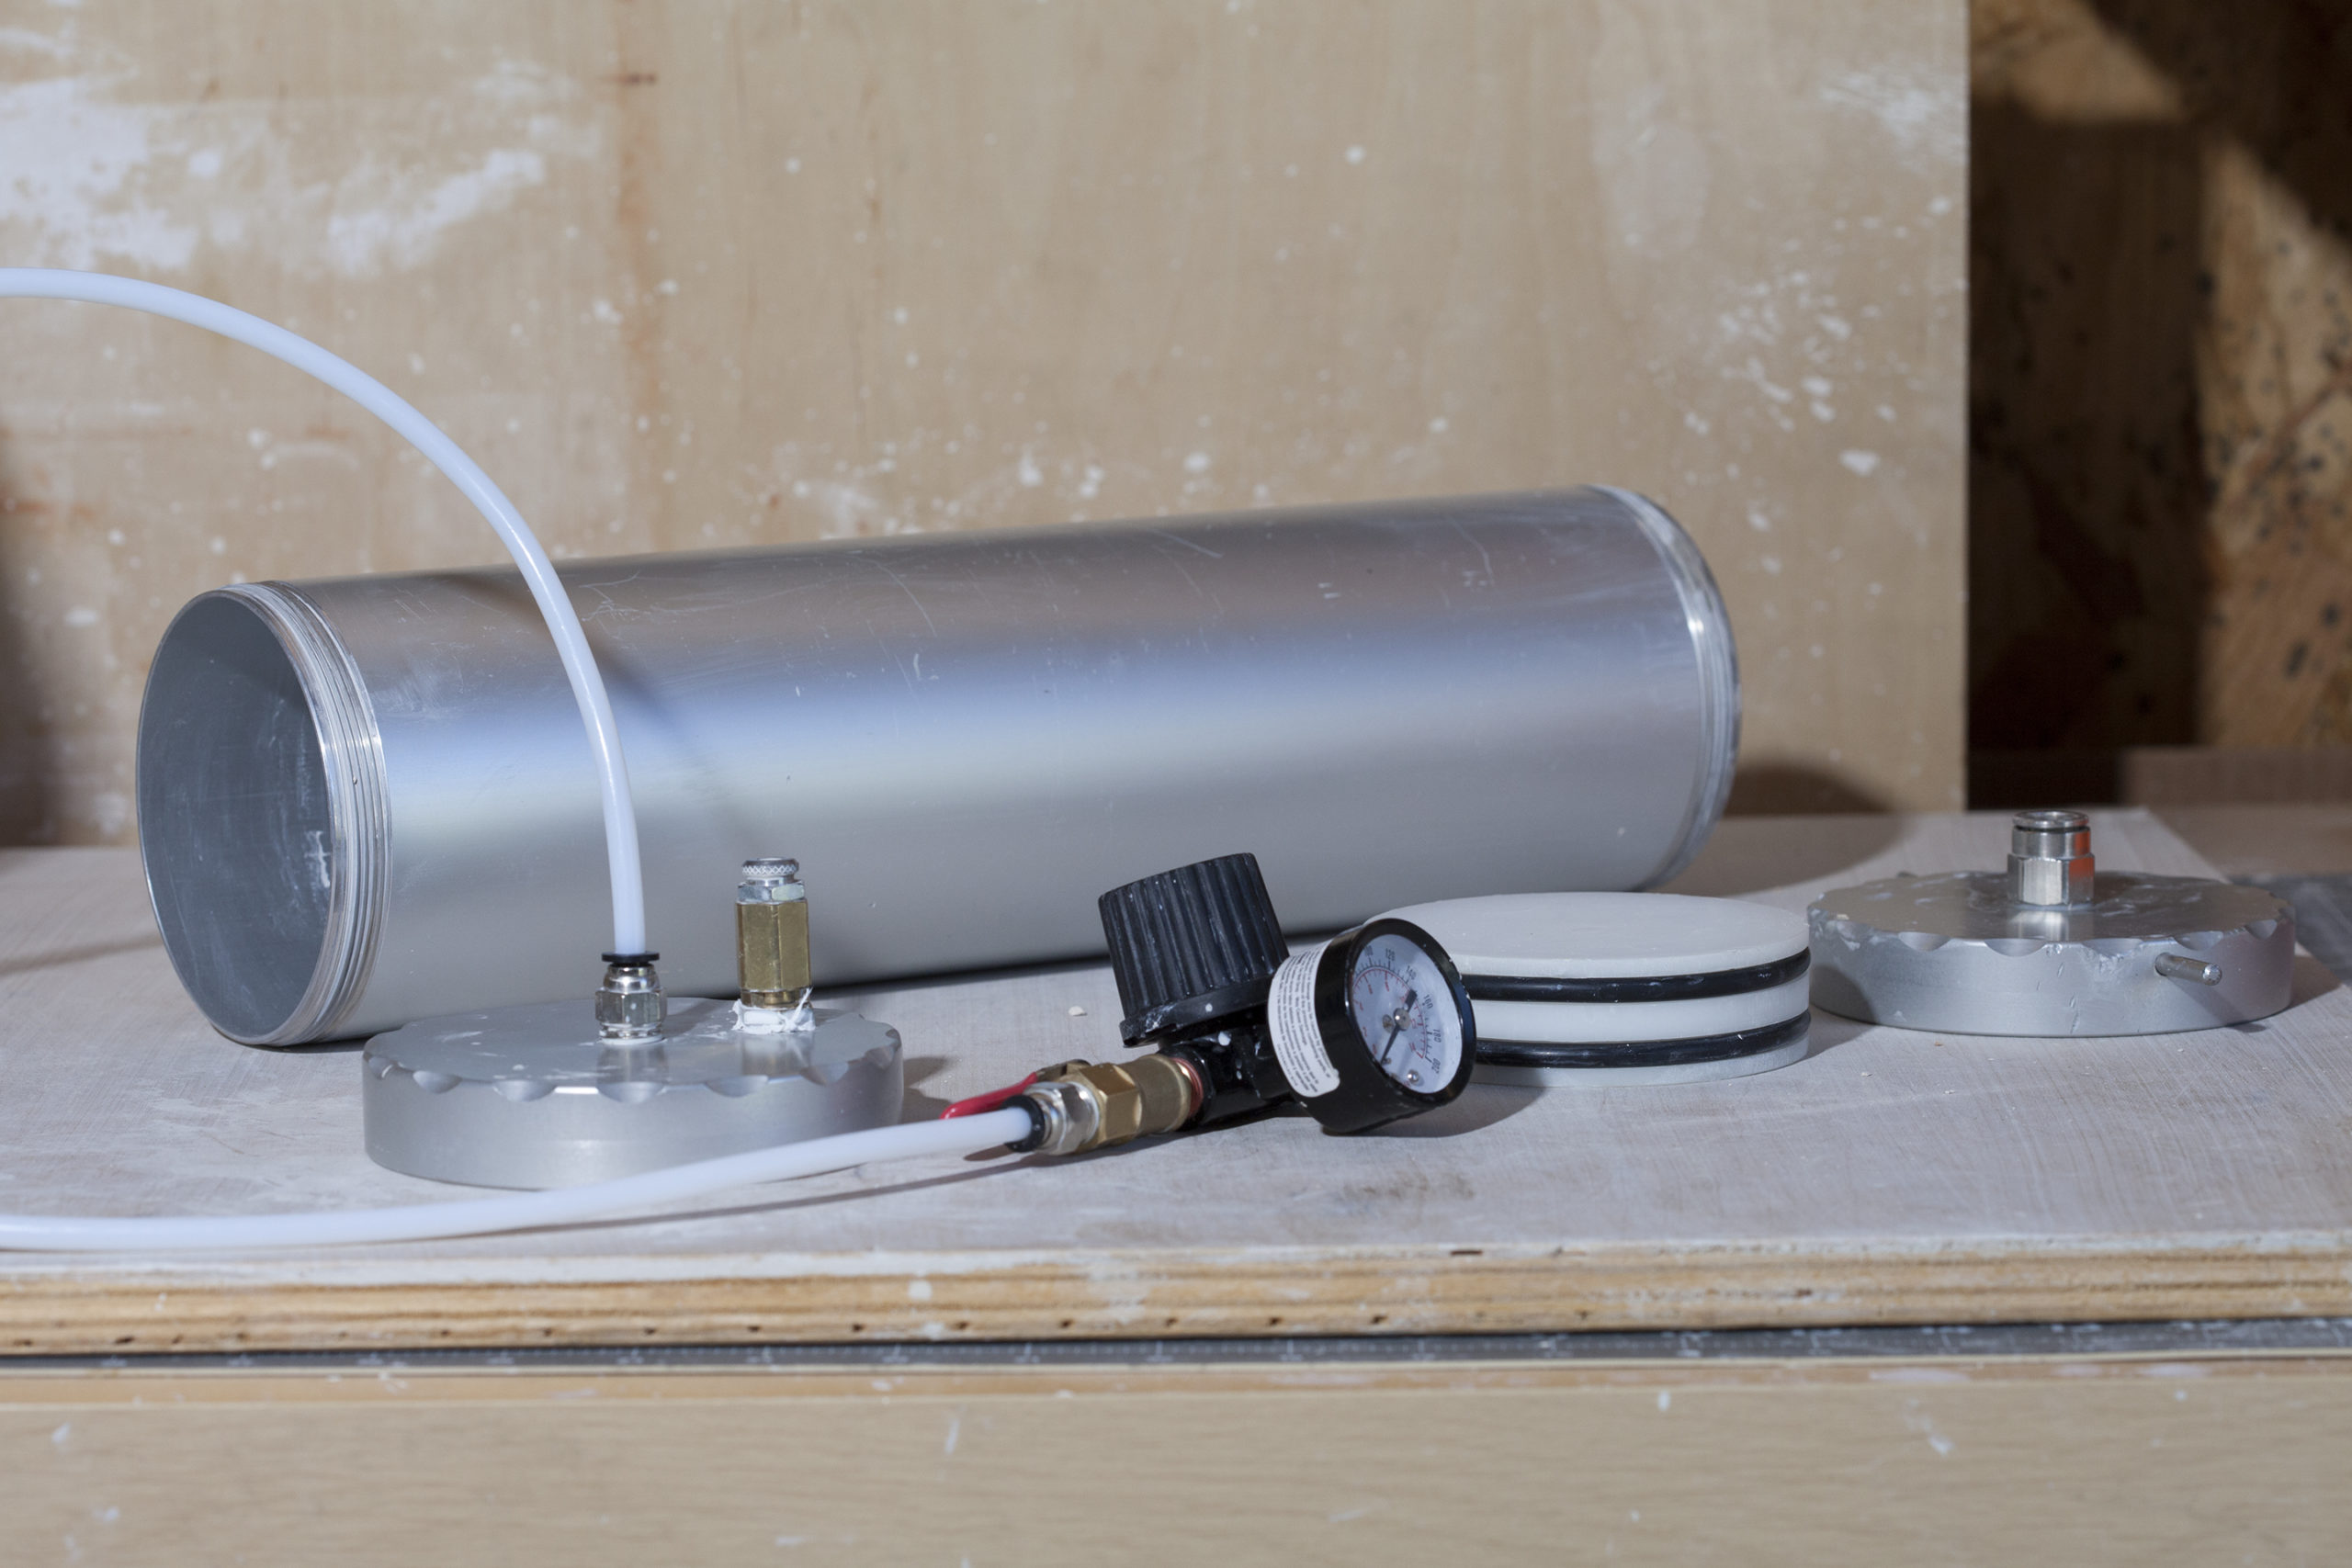
The above image shows the canister with both lids off of each end and the piston puck visible. The lid on the right has a 6mm push to connect to 1/4″ NPT thread. Next to it is a blow off valve, I manually adjusted this valve to vent at around 7.5 bar.
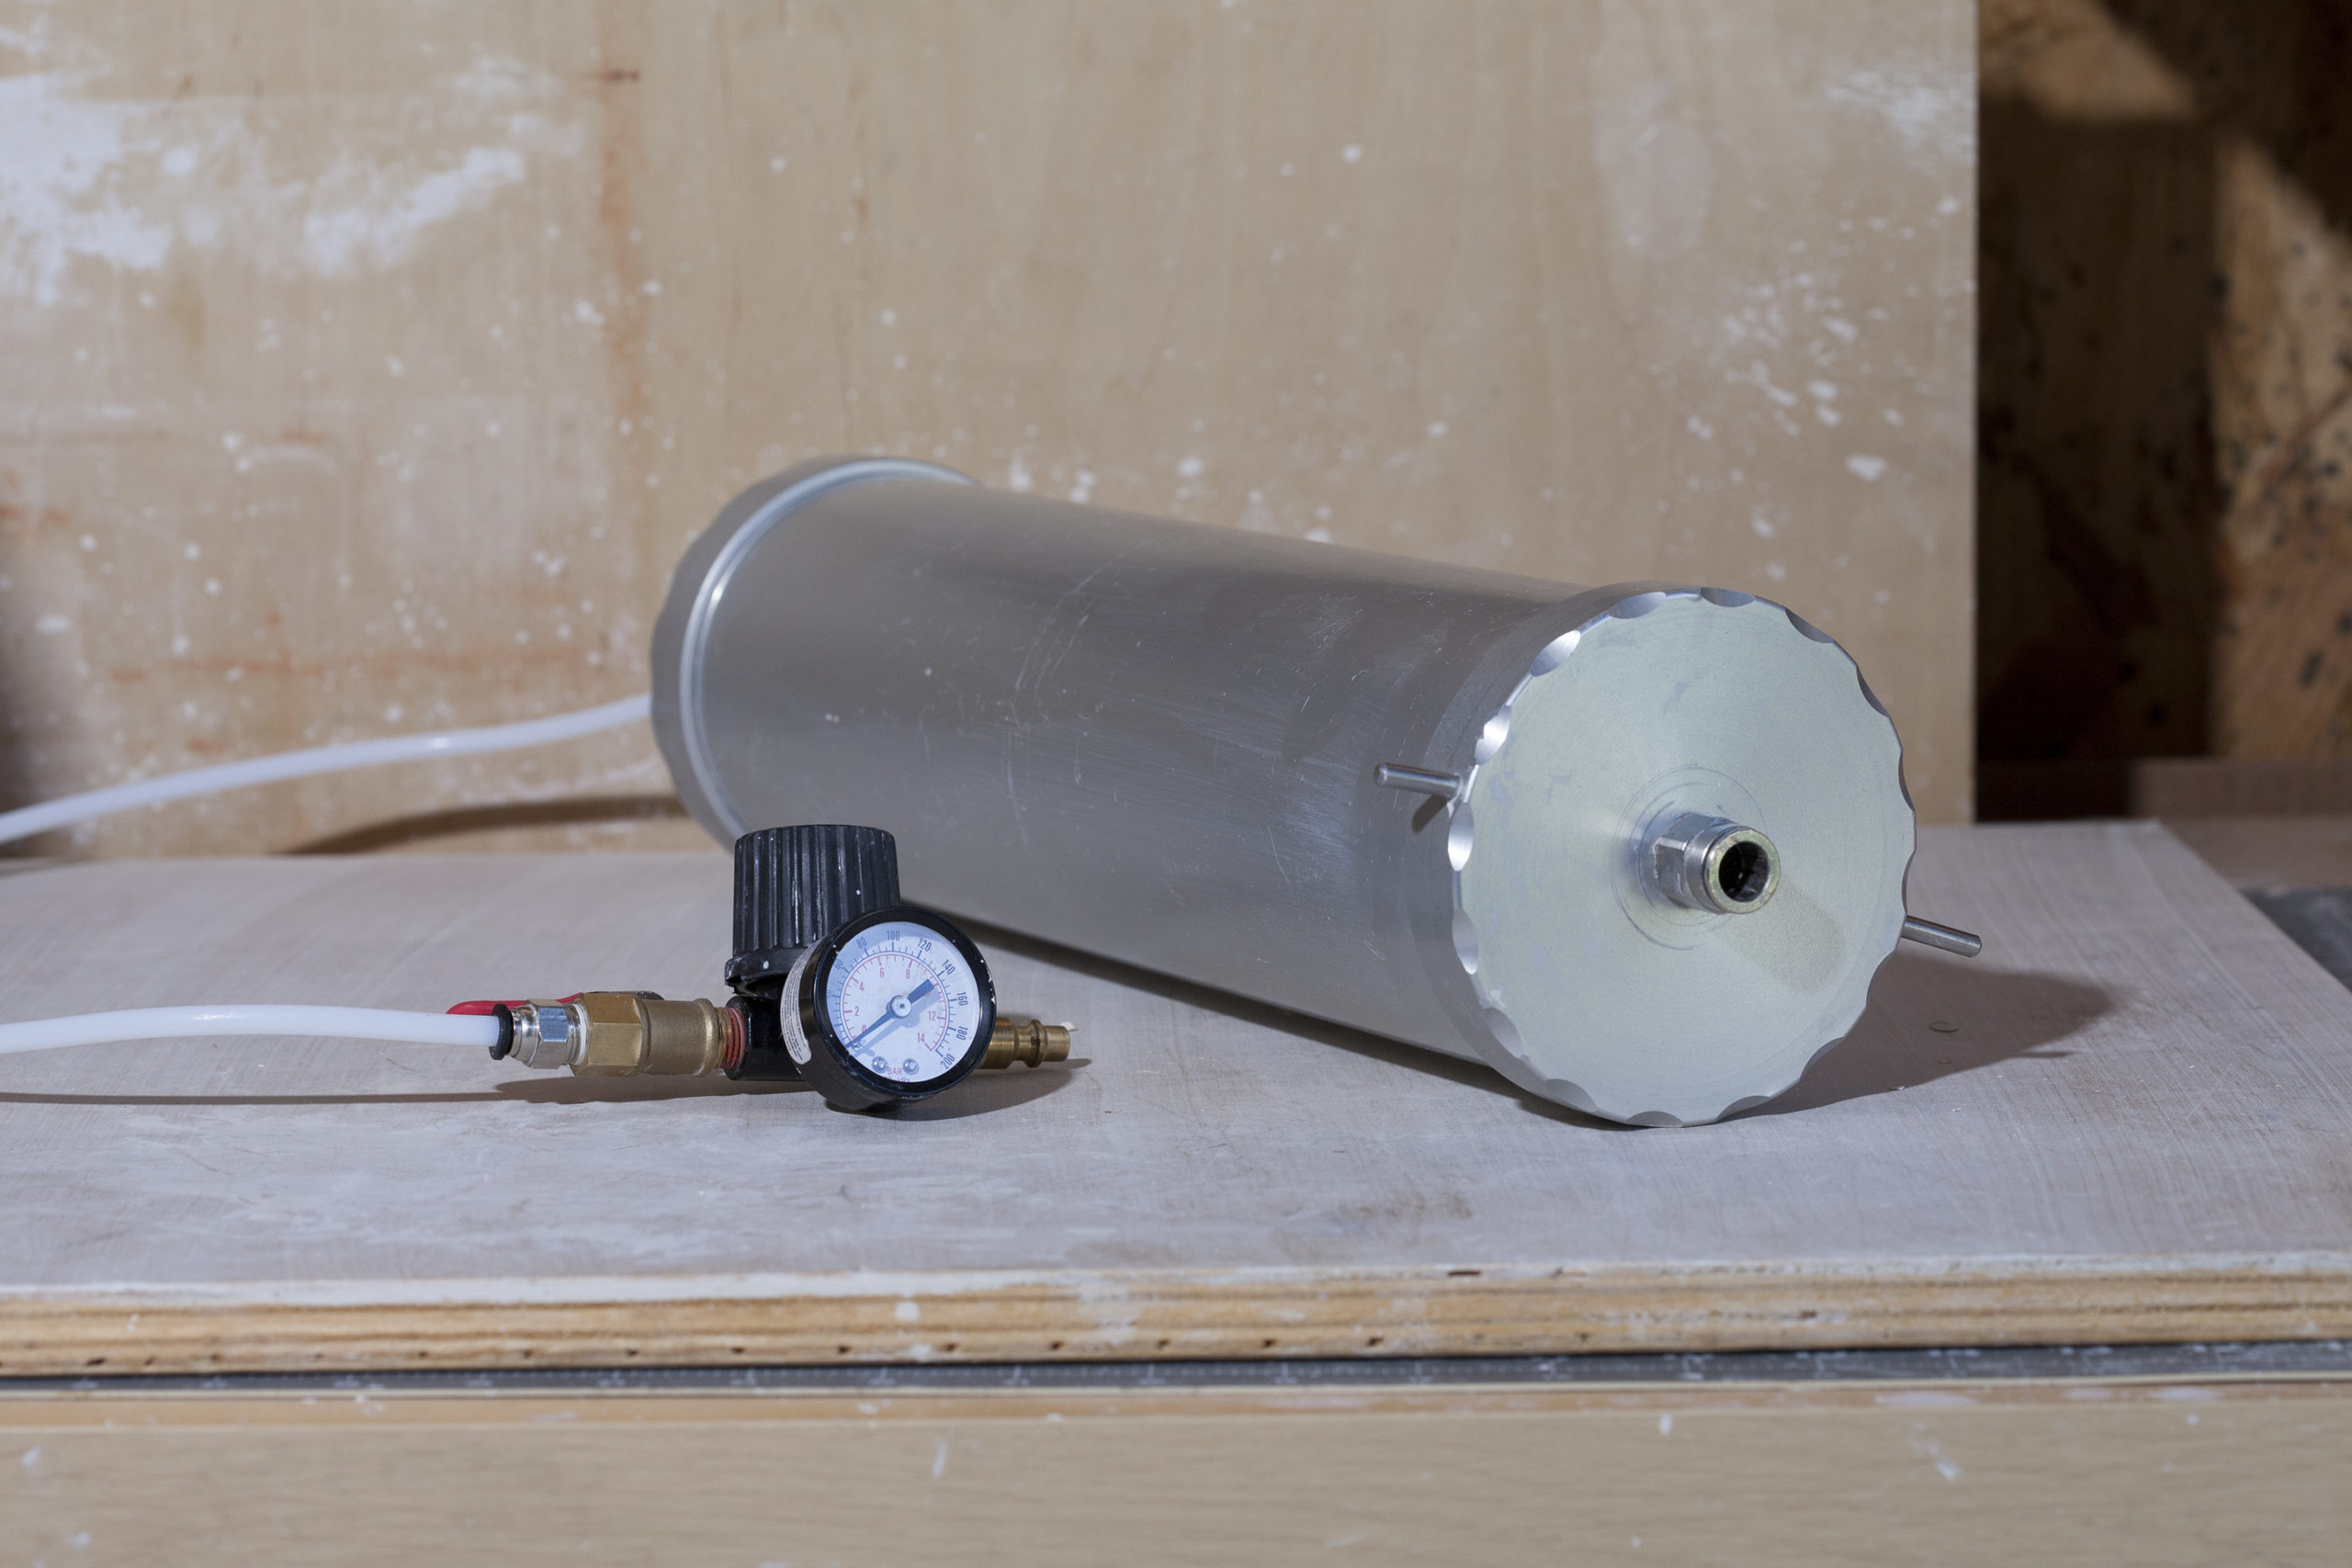
The above image shows the ‘out’ end of the canister which has a 12mm push to connect, I don’t know what threading this has, as it came from wasp and at this point in the line I didn’t need to replace any further connections.
